Makeup Trends for Winter 2026: 3 Wearable Looks
Berry lips, nostalgic liner and a flash of frost: three wearable demonstrations built around precise placement, controlled edges and skin that still looks like skin.

By Raphael Oliver
· 9-minute read
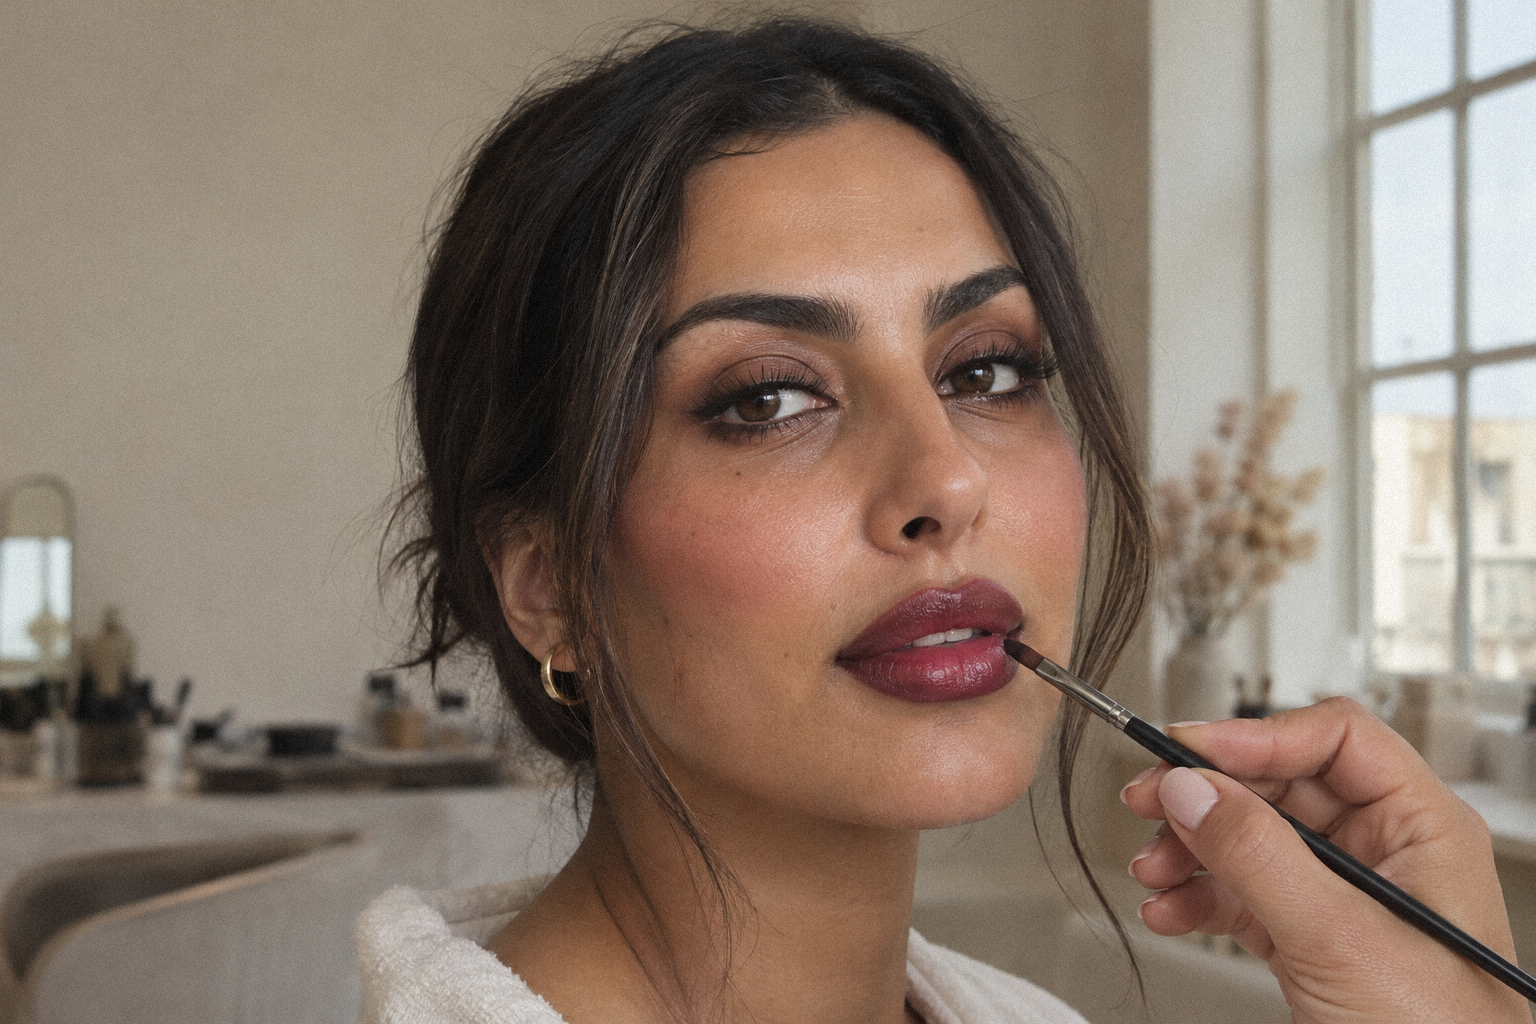
To translate makeup trends for winter 2026 into client-ready looks, try three combinations: blurred berry lips with satin skin, soft smoky eyes with a muted lip, or nostalgic smudged liner with a metallic accent. The demonstrations below focus on controlling edges and balancing intensity, rather than copying an entire runway face.
In short:
- Choose one dominant feature, then adjust the supporting colours and finishes.
- Keep coverage local: sheer foundation, spot concealing and selective powder.
- Define and balance the lip shape before softening its edges.
- Test placement with eyes open and assess the finished face in daylight.
What Are the Biggest Makeup Trends for Winter 2026?
The winter 2026 directions explored here combine sheer, skin-like foundation with expressive eyes: smoky liner, bold blue shadow and frosted metallic finishes. Soft-focus lips and flushed cheeks complete the palette. For wearable results, choose one statement and keep the surrounding makeup quieter.
Choose a direction, not every trend
This guide addresses the Northern Hemisphere’s late-2026 winter season. Treat the following combinations as our practical interpretations, not a requirement to replace your existing kit.
| Demonstration | Main feature | Supporting makeup | Suggested occasion |
|---|---|---|---|
| Blurred berry | Soft-edged, saturated lips | Satin skin, rose cheeks, defined lashes | Dinner or winter wedding guest |
| Soft smoke | Espresso or plum lash-line depth | Quiet cheeks, rose-brown lips | Evening event |
| Frosted nostalgic liner | Smudged liner and a controlled metallic accent | Sheer base, muted lip stain | Party or creative portrait |
For broader planning beyond this season, see our guide to adapting 2026 makeup trends for real clients.
How Can You Make Makeup Look Fresh on Dry Winter Skin?
Start with moisturised skin, then apply the least coverage needed. Keep preparation focused on creating an even surface for makeup, and avoid trying to scrub away visible flaking immediately before application.
Build a thin, controlled base
- Prepare gently. Allow preparation products to settle while you organise your tools. Check for slippery residue before foundation. For general skincare guidance beyond makeup preparation, consult the AAD’s dry-skin care guidance.
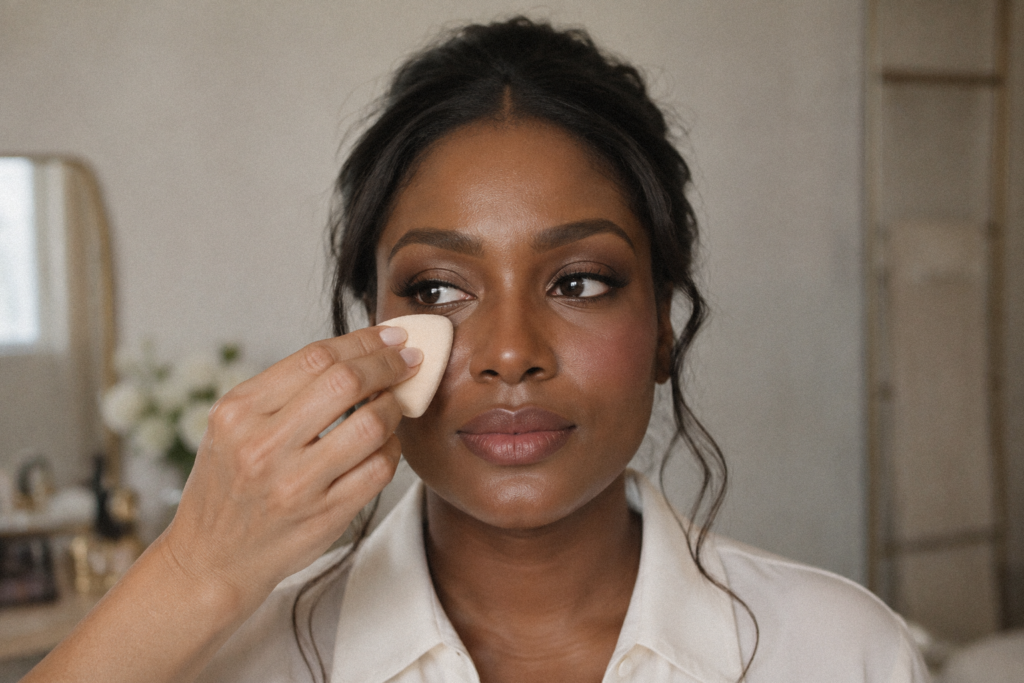
- Apply selectively. Press a skin tint or sheer foundation around the nose and uneven areas with a small synthetic brush. Leave already-even skin alone.
- Spot conceal. Use a pointed brush for individual marks, then tap only their borders. Avoid expanding each correction into another foundation layer.
- Set by zone. Press a little blurring powder beside the nose and wherever coverage moves. Leave dry cheek areas unpowdered initially.
For combination skin, start with lighter preparation through the centre and richer preparation only on dry areas. For this guide’s satin finish, keep a gentle cheek reflection rather than an all-over wet sheen; reserve a dewy finish for clients who prefer more visible shine.
Plan the event-day refresh
Check the base after the eyes are finished. If an area looks heavy, lift excess with a clean, barely damp sponge before adding anything else. At touch-up, blot shine first, restore missing coverage locally, then reassess powder; our long-lasting wedding makeup plan provides a fuller event-day workflow.
Which Lipstick Colours Are Trending for Winter 2026?
For these winter 2026 looks, build your lip wardrobe around wine and plum, adding berry, burgundy and rich red variations to suit the client’s preferred contrast. A softly blurred edge makes these deeper shades the focus without requiring a sharply outlined finish.
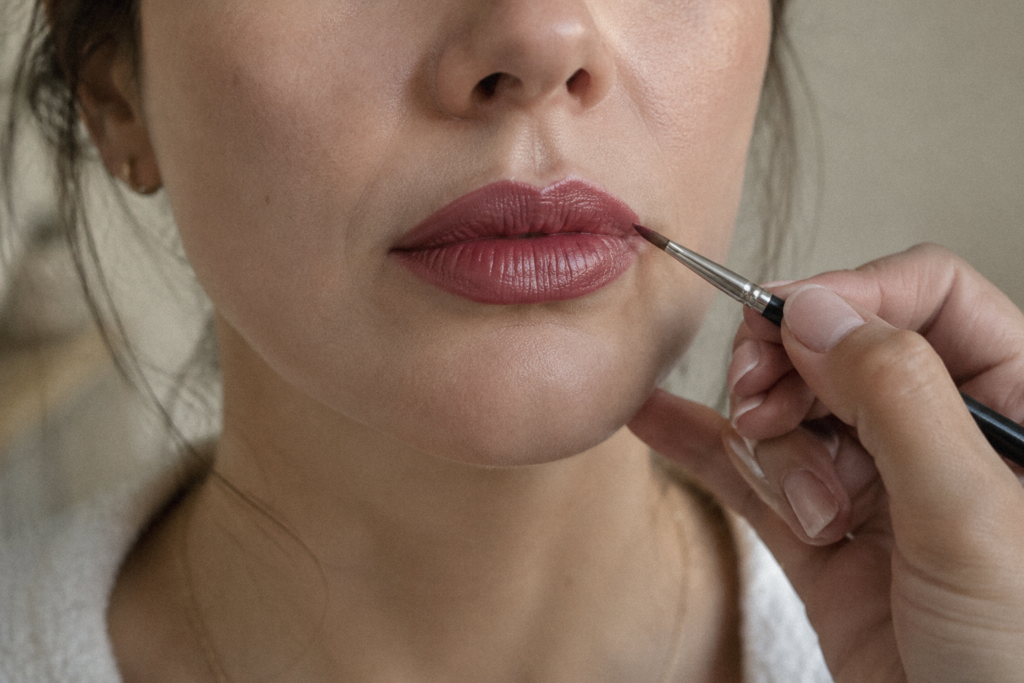
Demonstration 1: blurred berry lips with satin skin
Set out a satin or soft-matte lipstick, a coordinating lip liner, a small lip brush and a small pencil brush. Begin as though you were creating a defined lip: establish the shape and correct asymmetries with liner before softening the outline.
- Prepare and blot. Apply a comfortable balm during skin preparation, then blot surplus before colour. Do not scrub peeling lips.
- Define and balance. Outline the lips with pencil, mapping the Cupid’s bow, lower-lip centre and corners. Make considered adjustments to asymmetry as you would for a defined lip, staying close to the natural border.
- Soften the outline. Use a small pencil brush to blend the edges of the liner. Soften the visible line without losing the balanced shape you have just established.
- Press on colour. Work lipstick from the centre outwards in a thin layer. Stop just inside the softened perimeter.
- Check the finish. Use the small pencil brush to soften any remaining hard marks at the edge. Blot once, then restore depth only where needed.
For fair skin, try a sheer raspberry-red starting point; for medium and olive skin, compare cranberry with brown-berry. On dark skin, test a richly pigmented plum or burgundy, adjusting the liner to the natural lip border. Treat these as swatch options, not rules: assess undertone and natural lip pigmentation before choosing.
Correction: if the blur becomes a coloured halo, remove the overshoot with a pointed swab, then restore the surrounding base sparingly. Avoid drawing a pale concealer outline around the mouth.
I define the lips with pencil as though I were creating a sharply defined mouth, correcting asymmetries first. Then I use a small pencil brush to soften the edges. That way, I can soften any hard marks while preserving the shape.
How Do You Create Soft Smoky Eyes Without Heavy Edges?
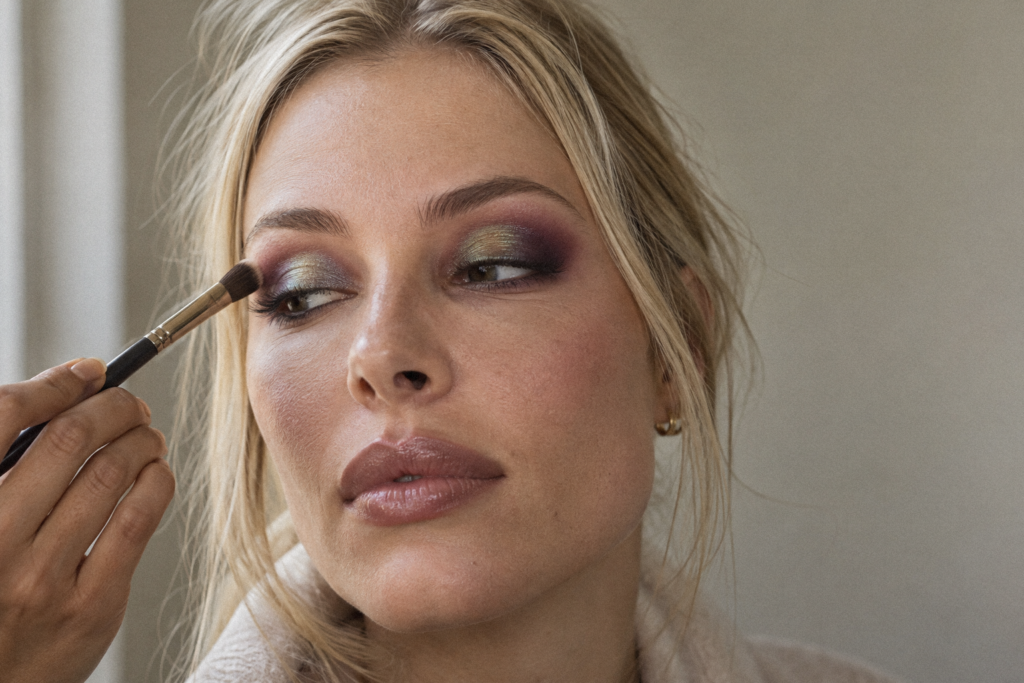
Build this smoky eye from the lashes outwards, keeping the deepest colour in the smallest area. Use separate brushes for depositing and blending so you can soften the perimeter without spreading dark pigment everywhere.
Demonstration 2: espresso smoke with a muted lip
- Prepare the lid. Apply a thin eye primer according to its directions. Keep rich face cream away from the working area.
- Sketch the depth. Place a soft espresso or plum eye pencil along the outer two-thirds of the upper lashes. Work one eye at a time before the pencil sets.
- Smudge the upper edge. Use a short, firm brush to move colour slightly upwards. Leave the lash roots darkest.
- Add shadow. Press a matching matte powder over the pencil. With a clean tapered brush, blend only the perimeter into a midtone suited to the client’s skin depth.
- Finish selectively. Add a little shadow beneath the outer lower lashes, checking the face straight ahead. Pair with rose-brown lipstick and restrained blush.
For a smudged kajal eyeliner effect, choose a properly labelled eye pencil, not traditional kohl powder. The FDA distinguishes traditional kohl from cosmetics using the term merely to describe a shade; use only products intended for the eye area and keep tools clean.
Adjust the placement, not the client’s features
| Eye feature | Placement to try | Check before finishing |
|---|---|---|
| Hooded eyes | Sketch the upper blend boundary with eyes open | Does the gradient remain visible above the fold? |
| Monolids | Build a lash-to-lid gradient without drawing an artificial crease | Is the deepest colour still near the lashes? |
| Deep-set eyes | Concentrate depth at the lashes, leaving the socket quieter | Have you darkened the whole recess unnecessarily? |
| Downturned outer corners | End lower shadow before the outer corner and test an upward upper edge | Does the placement suit the client’s preferred shape? |
If the smoke spreads too far, stop blending. Lift the excess at its boundary and rebuild a smaller gradient rather than covering the mistake with more shadow.
How Do You Create a Wearable Frosty or Metallic Eye Look?
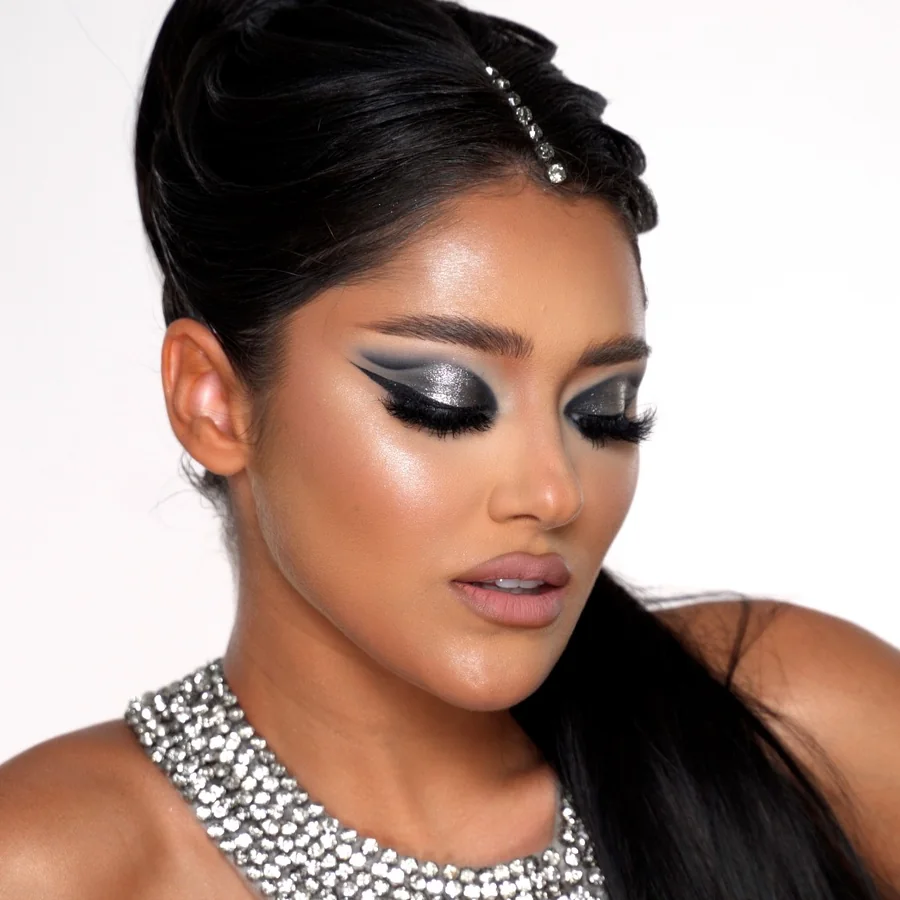
For our wearable version, keep reflection concentrated rather than spreading it across the whole eye. Use a small accent at the lid centre; for hooded eyes, focus metallic tones at the centre and inner corner, leaving the surrounding shadow satin or matte. Start with a fine-pearl finish rather than covering the entire eye in opaque silver.
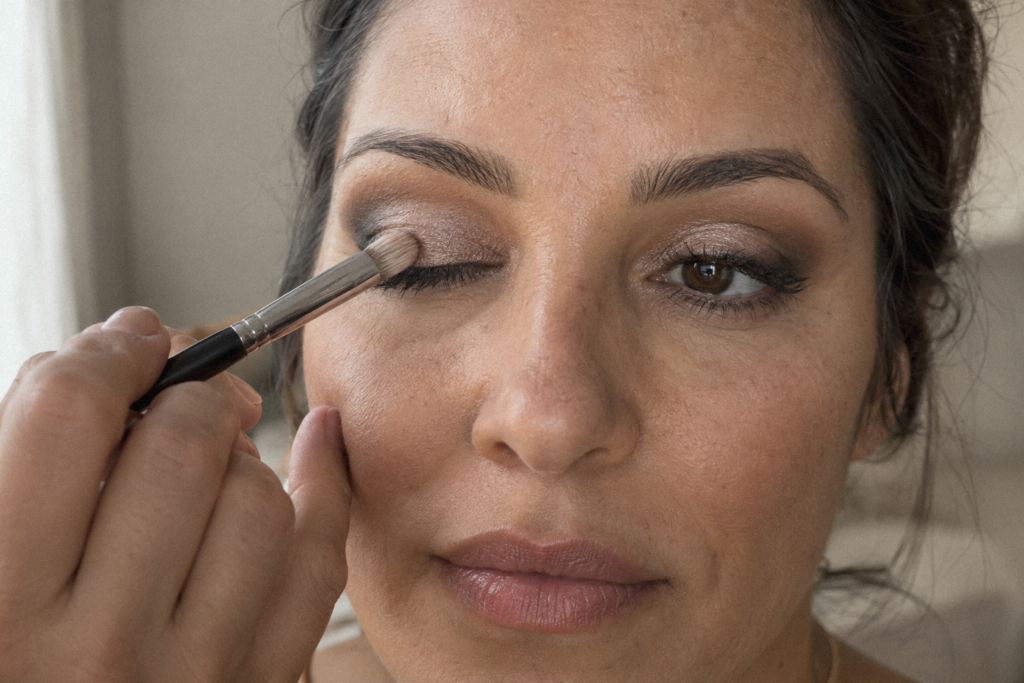
Demonstration 3: nostalgic blurred liner with a metallic accent
- Draw a short line. Use navy, charcoal or espresso pencil along the upper lashes. Sketch a small outward extension with the eyes open.
- Blur one boundary. Soften the top edge with a small smudging brush while preserving lash-root definition.
- Press on reflection. Place silver, champagne or icy rose eyeshadow at the lid centre with a flat brush. For hooded eyes, keep the metallic concentrated at the centre and add a small touch at the inner corner. Check both points with the eyes open before adding more.
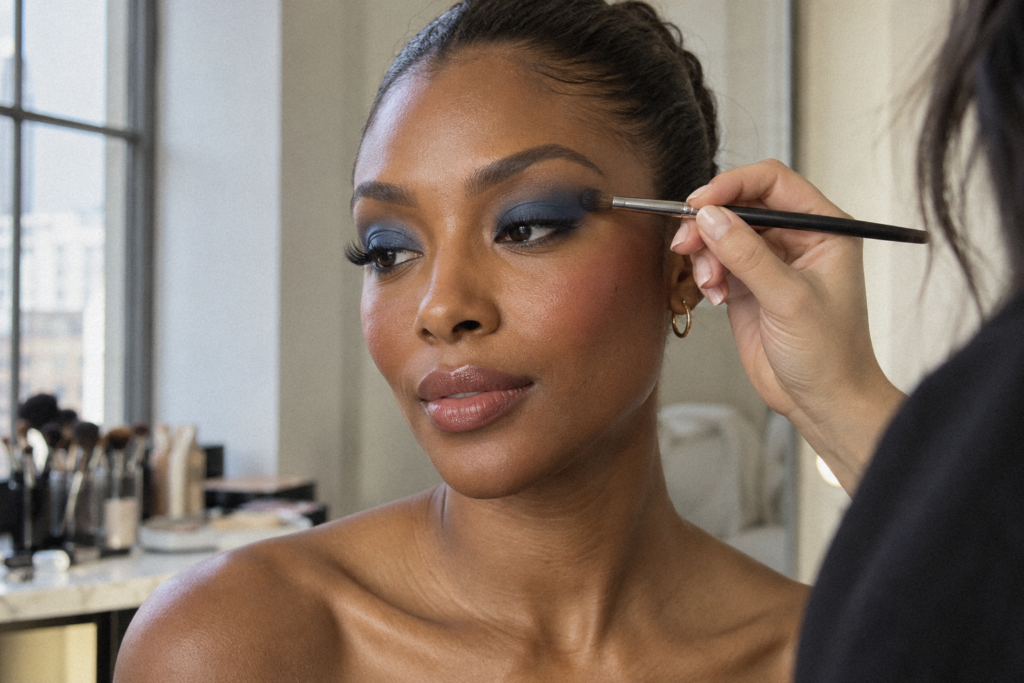
- Choose the statement. For a blue eyeshadow variation, substitute a narrow cobalt accent for the metallic—not another full layer over it. Finish with mascara and a muted berry stain.
On dark skin, compare transparent shimmer over a plum base with opaque pale frost before committing. On textured lids, test fine pearl in a small patch and check it with the eyes both open and closed. For a quieter result, reduce the reflective area rather than repeatedly blending shimmer across the lid.
On hooded eyes, I would concentrate metallic tones only at the centre of the lid and the inner corner. These are strategic points for bringing in light and reflection, giving the impression of a more open eye.
How Should You Apply Blush for a Natural Winter Flush?
For this winter flush, start with a small amount of cream blush on the upper apple, then diffuse outwards. Assess placement with the face relaxed rather than relying only on a smile.
Choose colour strength and placement together
Try rose-red on fair skin, cranberry on medium skin, and rich berry or red-purple blush on dark skin. For olive undertones, compare muted rose with plum in daylight. Use these swatches to find the desired effect, not to restrict anyone’s colour choices.
For a lifted arrangement, direct the blend towards the upper cheekbone. For a more rounded flush, keep colour nearer the apples; on a longer face, test a slightly more horizontal placement. Add a trace across the nose only if the client wants that outdoors-inspired effect.
When pairing expressive pink or purple blush with berry lips, start with less cheek pigment. If the cheek dominates, tap over its edge with the residual foundation on your sponge rather than adding an opaque covering layer.
How Can Makeup Artists Adapt Runway Winter Trends for Everyday Clients?
Reduce the area, opacity or number of statement features while keeping the idea recognisable. Ask the client which detail they actually love before translating a reference.
Use an intensity budget
For daytime, try berry stain, upper-lash smudging and no metallic. For dinner, deepen the lip or expand the smoke. For a party, combine both but keep blush restrained and the reflective placement controlled.
Face gems are optional, not necessary to complete these looks. For a client-friendly first trial, substitute a small eyeshadow highlight rather than introducing adhesive decoration at a last-minute appointment.
FAQ
Can I add false lashes without hiding the eyeshadow?
Try a light half-strip or a few temporary lash clusters rather than a dense full band. Compare placement with our false-lash fitting and placement guide. Follow adhesive directions, check ingredients and stop if irritation occurs; the FDA’s eye-cosmetic safety guidance explains the precautions.
How should clients remove temporary lashes?
Loosen temporary lash adhesive with an appropriate lash or eye-makeup remover rather than pulling against resistance. Follow the product’s removal instructions; semi-permanent extensions are a different service and are best removed professionally.
What should go in a winter event touch-up kit?
Pack the chosen lip colour, a small lip brush, blotting papers and a compact for targeted powdering. Give the client a specific order: blot, repair missing colour, then powder only if necessary.
Practise one combination first, photograph it in daylight and change one variable at a time: edge, depth or reflection. For guided development of those application decisions, explore the Makeup Art course.