Creative Makeup Looks: 6 Ways to Master Colour and Chrome
From a sheer multichrome lid to sculptural face art, build expressive makeup with a clear focal point. These six designs pair inspiration with practical placement, formula choices and finishing techniques.

By Raphael Oliver
· 10-minute read
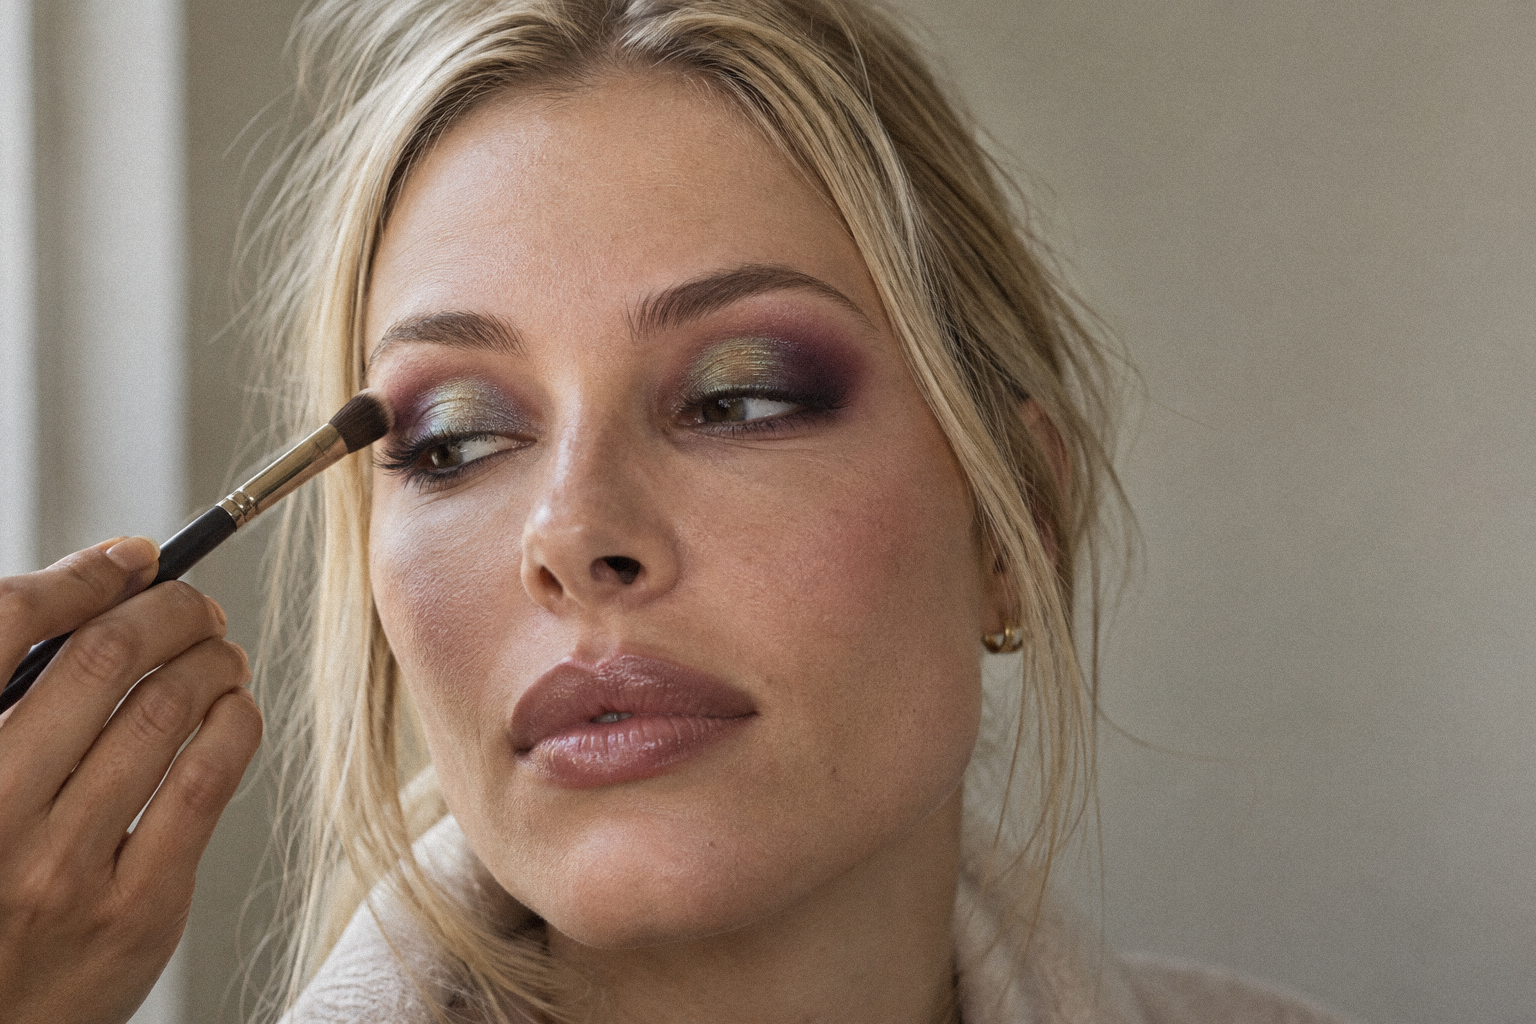
Creative makeup looks start with a deliberate choice: an unexpected colour, a graphic shape or a reflective finish. Try the six designs below, then use the placement and base comparisons to adapt them for clients, editorial makeup or your own portfolio.
In short:
- Choose one focal point before adding contrasting colours or embellishments.
- For multichrome, I favour a darker base; burgundy, dark brown or grey are alternatives to black.
- Map graphic shapes with the eyes open and the brows relaxed.
- Build reflective colour in thin layers and finish the surrounding matte blending first.
- Adapt the concept to your client’s eye anatomy and personal style.
- Check each product’s intended application area, especially pigments, paints and adhesives.
What Are Some Creative Makeup Looks, and How Can You Recreate Them?
Creative makeup looks include multichrome lids, floating graphic eyeliner, colourful cut creases, contrasting shadow blocks, embellished temples and painted face designs. Recreate them by choosing one focal point, preparing the skin, mapping the shape with eyes open, applying thin layers and checking the result in daylight before adding finishing details.
The timings below are planning estimates for the featured detail on both sides, excluding complexion makeup and lashes.
1. Sheer Multichrome With a Soft Rose Lip
Beginner · 10–15 minutes. Choose a translucent colour-shifting shadow and keep the surrounding eye softly defined. This is an airy alternative to the darker-backed multichrome finish I generally prefer.
- Apply a thin layer of clear eyeshadow primer according to its instructions.
- Press shadow across the mobile lid with a flat synthetic brush, stopping below the socket.
- Add rose blush and a softly blotted rose lip.
Simpler version: keep the reflective colour to the centre of each lid.
2. Dark-Based Chrome With a Sculpted Outer Corner
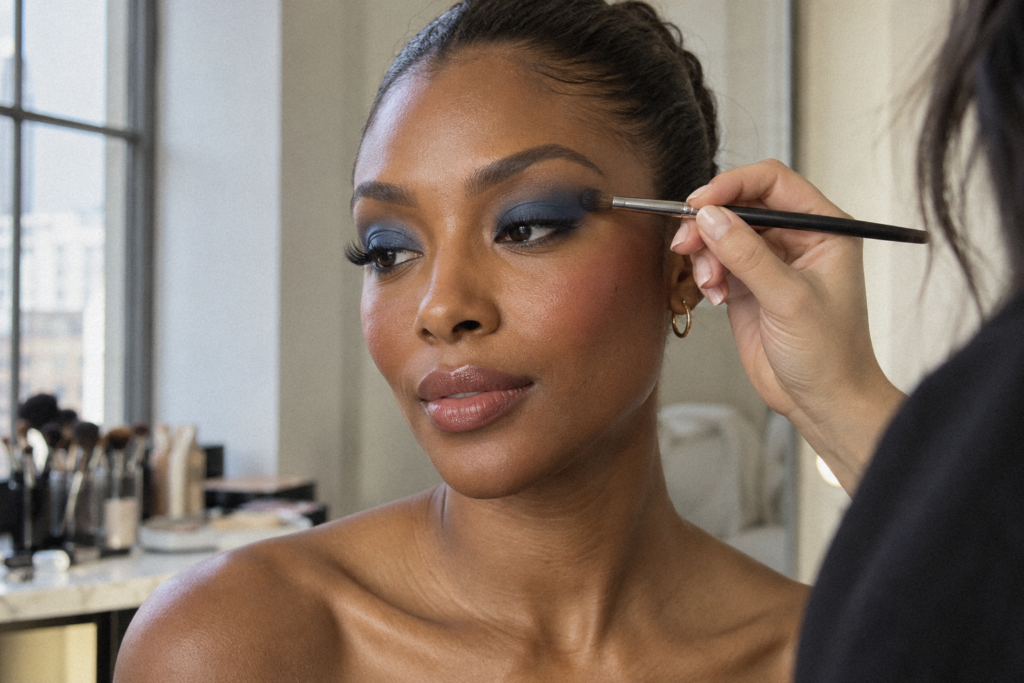
Intermediate · 15–20 minutes. Try a green-to-violet multichrome against a charcoal or burgundy base.
- Blend a matte plum socket and outer corner first.
- Apply a thin dark eye base inside that shape, leaving its outer edge softly graduated.
- Press the multichrome over the central lid without brushing it through the socket.
Pair with muted berry cheeks and a satin lip. Simpler version: use the dark base only on the outer third.
3. Cobalt Floating Eyeliner
Intermediate · 15–20 minutes. Draw a blue arc above the natural fold, leaving visible skin between the arc and lash line.
- Mark the arc with three tiny blue pencil dots while the eyes are open.
- Join them using an eye-area-approved opaque liner and a fine detail brush.
- Balance the blue with restrained peach cheeks and a sheer warm lip.
Simpler version: draw only the outer third of the arc.
4. Coral-and-Violet Half Cut Crease
Advanced · 25–35 minutes. This pairs colourful eyeshadow with a deliberately crisp inner-lid boundary.
- Blend coral above the socket and place violet at the outer corner using separate brushes.
- Map the inner half-crease with an opaque eye base and a small flat brush.
- Press pale metallic shadow inside the cut shape; tap a little magenta where coral meets violet.
Keep the cheek colour sheer. Simpler version: omit the cut crease and retain the two-colour placement.
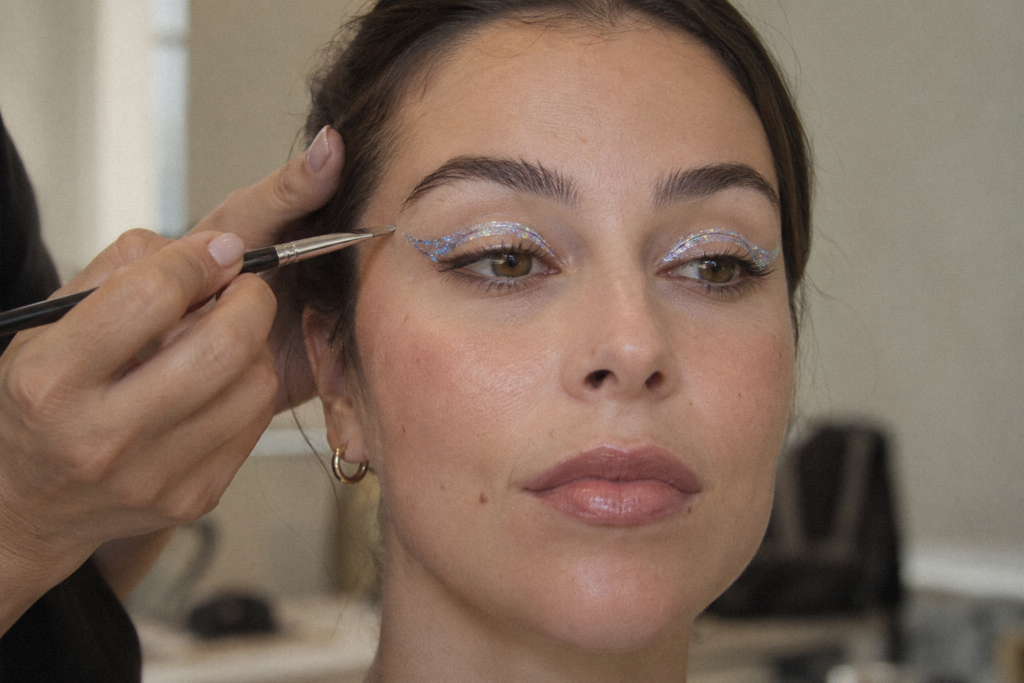
5. Metallic Eye With an Embellished Temple
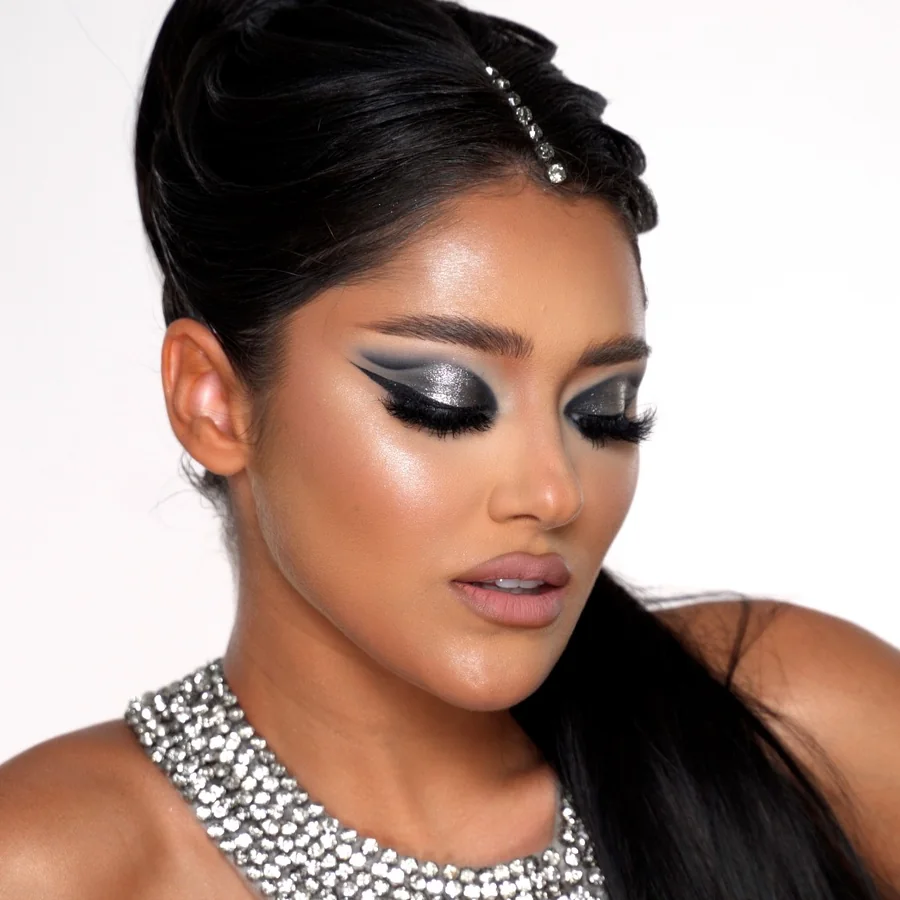
Intermediate · 20–30 minutes. Pair a smooth metallic lid with three small rhinestones on the temple, outside the eye socket.
- Apply a single metallic shadow and a fine lash-line liner.
- Map three widely spaced points on clean, dry temple skin.
- Attach lightweight facial embellishments using an adhesive labelled for that purpose.
For a glitter variation, place cosmetic body glitter on the shoulder instead of around the eye. Simpler version: replace the stones with painted metallic dots.
6. Asymmetric Painted Ribbon
Advanced · 30–40 minutes. Build an avant-garde makeup design around one curved ribbon running from the temple towards the outer cheek.
- Sketch the curve lightly with a cosmetic pencil.
- Fill it with face and body paint approved for the intended area, keeping it outside the eye socket.
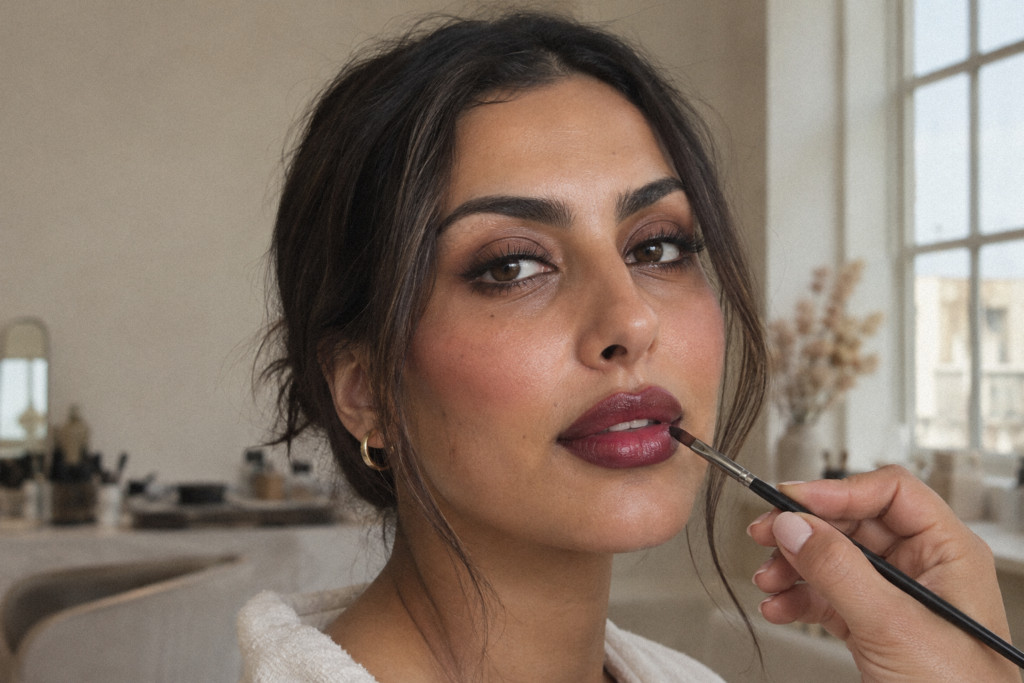
- Add a narrow contrasting border and repeat one ribbon colour on the lips with a lip product.
Simpler version: shorten the ribbon to one cheekbone accent.
What Products Do Makeup Artists Use for Creative or Editorial Makeup?
Build your kit around the finish and placement: eyeshadow primer, matte shadows, multichrome and metallic shadow, precise eyeliner, suitable paints and clean detail tools. You do not need every texture in one design.
Choose Products by Application Area
A water-activated pigment is not automatically suitable for eyelids, and a face and body paint is not interchangeable with eyeshadow. The FDA’s eye cosmetic guidance explains that some colour additives permitted elsewhere are not permitted around the eyes; check the specific shade and label, not just the palette name.
Set out a flat shader, small tapered blending brush, fine liner brush, clean mixing palette and pointed cotton buds. Activate water-based products only as directed, and do not treat setting spray as a universal mixing medium or substitute for adhesive.
Translate Your Reference Into a Plan
Write down four decisions: focal point, silhouette, palette and finish. For a beetle-wing reference, for example, choose a curved chrome lid, green-violet reflections, a soft plum socket and restrained satin skin rather than copying every colour in the reference.
When I create a more exaggerated, conceptual makeup look for social media, I am selling a concept. That might mean larger lashes or a more elongated shape extending beyond the socket. Those choices serve the image, but they are not automatically the right choices for a client.
For a client, I have to consider her eye shape, what her anatomy allows and her personal style. It is not about doing whatever I want; it is about doing what suits her.
Use that distinction when adapting a reference: reconsider the lash size and the reach of the eye shape rather than reproducing them unchanged. The concept is your starting point; the client’s features and style guide the final placement.
How Do You Apply Multichrome Eyeshadow for a Clear Colour Shift?
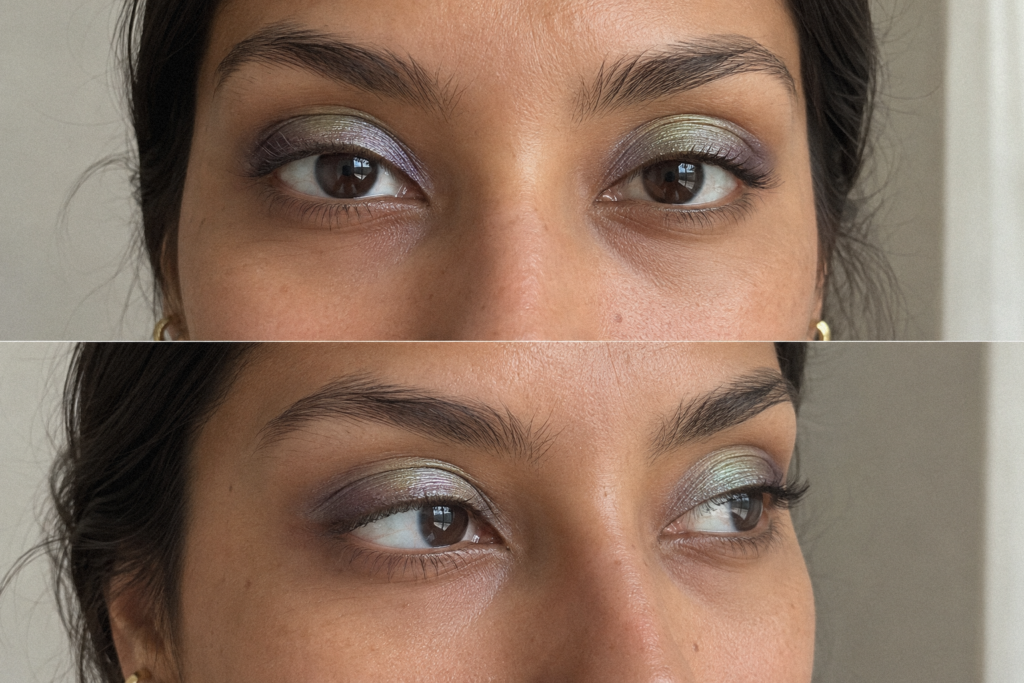
Press a thin, concentrated layer onto a deliberately chosen area, then soften only its boundary. I find multichrome pigments look better over a darker base: that background gives the pigment a more elegant finish. It does not have to be black—burgundy, dark brown or grey can provide the depth instead.
Compare Sheer and Dark Bases
My preference is for a darker background, but compare the options with the actual shadow you intend to use. Swatch it at a similar thickness over each base and check both the depth and the reflection; a sheer wash is a different design choice, not the same finish with less product.
| Base to Test | Design Aim | What to Check |
|---|---|---|
| Clear primer | An airy wash with visible skin | Does the shadow give enough definition without added depth? |
| Skin-matched eye base | A more even starting canvas | Does the base alter or mute the reflection? |
| Dark brown or burgundy | A deeper background linked to the palette | Does its undertone complement both visible shifts? |
| Grey or charcoal eye base | A smoky background without using black | Does this depth give the pigment the finish you want? |
| Black eye base | A deliberately dramatic, high-contrast lid | Does the result become darker than the design needs? |
Build the Lid in This Order
- Prepare: blot excess skincare and apply a thin primer layer. Follow its setting instructions.
- Frame: finish matte socket and outer-corner blending before adding reflection.
- Place the base: keep a dark base within the intended chrome shape. Follow the formula’s instructions for layering.
- Press: use the flat face of a shader brush, beginning at the lid centre and extending sideways.
- Refine: soften the perimeter with a small clean brush, leaving the reflective centre undisturbed.
Pressing rather than repeatedly sweeping helps concentrate the reflective finish; build another light layer only where needed. If the result seems flat, change the viewing angle before adding more shadow.
Check the Same Look Under Different Angles
Multichrome reflections change with lighting and viewing angle. Take one photograph facing a window, then keep the camera still and turn the face slightly left and right. Repeat with the window to one side, keeping exposure and white balance consistent where possible; include a short head-turn video rather than relying on one flattering frame.
Repair selectively: if the dark base shows through unevenly, press a little shadow onto that patch. If the lid becomes thick or creased, remove and rebuild the affected area instead of burying it under another layer.
How Do You Create a Colourful Graphic Eyeliner Look?
Map the design with the eyes open, then connect small sections rather than attempting one uninterrupted stroke. Judge symmetry from the front with the brows relaxed.
Keep the Shape Crisp
- Rest your working elbow and mark the beginning, highest point and endpoint.
- Load a fine brush lightly and test its stroke on a clean palette.
- Join the marks with short strokes, allowing each layer to set as directed.
- Clean the boundary with a pointed cotton bud barely dampened with suitable remover; let the skin dry before repainting.
For contrasting shades, try a narrow strip of visible skin between blue and orange rather than blending them together. If you want a gradient, test it on a palette first and use separate brushes for each colour.
How Do You Adapt Creative Eye Makeup to Different Eye Shapes?
Design around the visible lid with the eyes open, not around a fixed diagram. For client work, the shape must respond to the person’s anatomy and personal style, not simply reproduce an exaggerated social-media reference. These placements are starting points, not rules about which shapes need correcting.
| Eye Shape or Feature | Placement to Try |
|---|---|
| Hooded eyes | Map floating liner above the fold; test whether a central chrome accent remains visible. |
| Monolids | Build a lash-line-to-upper-lid gradient, checking its height with eyes open. |
| Deep-set eyes | Try reflection on the mobile lid with restrained darkness through the socket. |
| Prominent or round eyes | Choose a central spotlight for roundness or an extended outer shape for length. |
| Textured lids | Test a thin, finely reflective finish before committing to a thick foiled layer. |
Adjust for Skin Tone and the Whole Face
On fair skin, compare a sheer wash with a deeper outline. On medium and olive skin, test the reflection beside the planned blush; on dark skin, compare clear and skin-matched bases rather than automatically applying a pale one. For a deeper multichrome finish on any skin tone, test a dark eye base within the intended reflective shape.
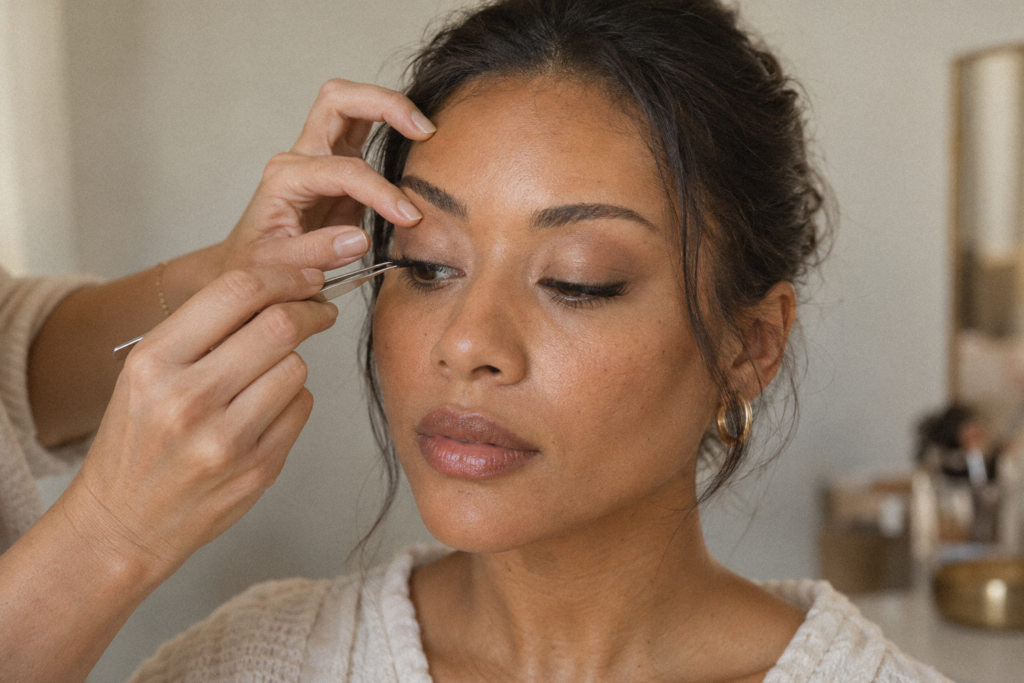
For face art, sketch both an upward temple curve and a horizontal cheek curve to see which supports your design. Keep lashes from obscuring the detail with this guide to false-lash style, fit and placement.
How Do You Make Glitter or Rhinestones Stay in Place?
Use the adhesive specified for the embellishment and intended skin area, on clean, dry skin. Keep gloss, oils and rich creams away from the attachment points.
Separate Sparkle From the Eye Area
Johns Hopkins eye-safety guidance advises avoiding glitter near the eyes because particles can migrate onto the eye surface, and says craft glitter should never be used cosmetically. For these designs, reserve cosmetic body glitter for the shoulder and choose smooth eyeshadow for the lids.
Place small facial stones outside the eye socket, follow the adhesive’s setting time and check attachment before photography. Keep lip gloss on the lips; remove stones with the adhesive’s recommended remover rather than pulling them off.
How Can You Make Creative Makeup Wearable?
Start with what suits the client: her eye anatomy and personal style should determine how much of the concept you retain. Reduce the area of the statement rather than automatically muting its colour. A cobalt outer flick or a narrow chrome lid accent can carry the concept without full-face decoration.
Balance Eyes, Cheeks and Lips
For cohesion, repeat one eye colour softly on cheeks or lips using products intended for those areas. For intentional contrast, pair blue eyes with an orange-red lip and keep blush restrained; use colour theory as a design tool, not a restriction.
For events, rehearse the complete combination for the intended duration and check transfer, creasing and attachment. Plan complexion preparation and touch-ups with the long-lasting wedding makeup guide.
FAQ
Can You Use Lipstick as Coloured Eyeliner?
Only if the specific product is also intended for eye-area use. Lip suitability does not establish eye suitability, so choose a dedicated eyeliner when the label does not explicitly allow it.
How Should You Practise Without Doing a Full Face?
Practise one shape on each eye over minimal complexion makeup. Photograph both with the eyes open, then change just one variable—line thickness, placement or base—on the next attempt.
What Should You Record for a Portfolio Look?
Record the product shades, layer order, brush shapes and lighting position. Include a front view, a three-quarter view and a close-up so you can evaluate both the overall design and its edges.
Start with one shape, two colours and one standout finish. Once you can repeat the placement cleanly, add complexity; for guided creative development, explore the Makeup Art course.