Long-Lasting Wedding Makeup: The Pro Plan for All-Day Wear
Reliable bridal makeup starts with a tested application, not a promised wear time. Here is an artist’s plan for skin preparation, targeted setting and touch-ups around the wedding schedule.

By Raphael Oliver
· 9-minute read
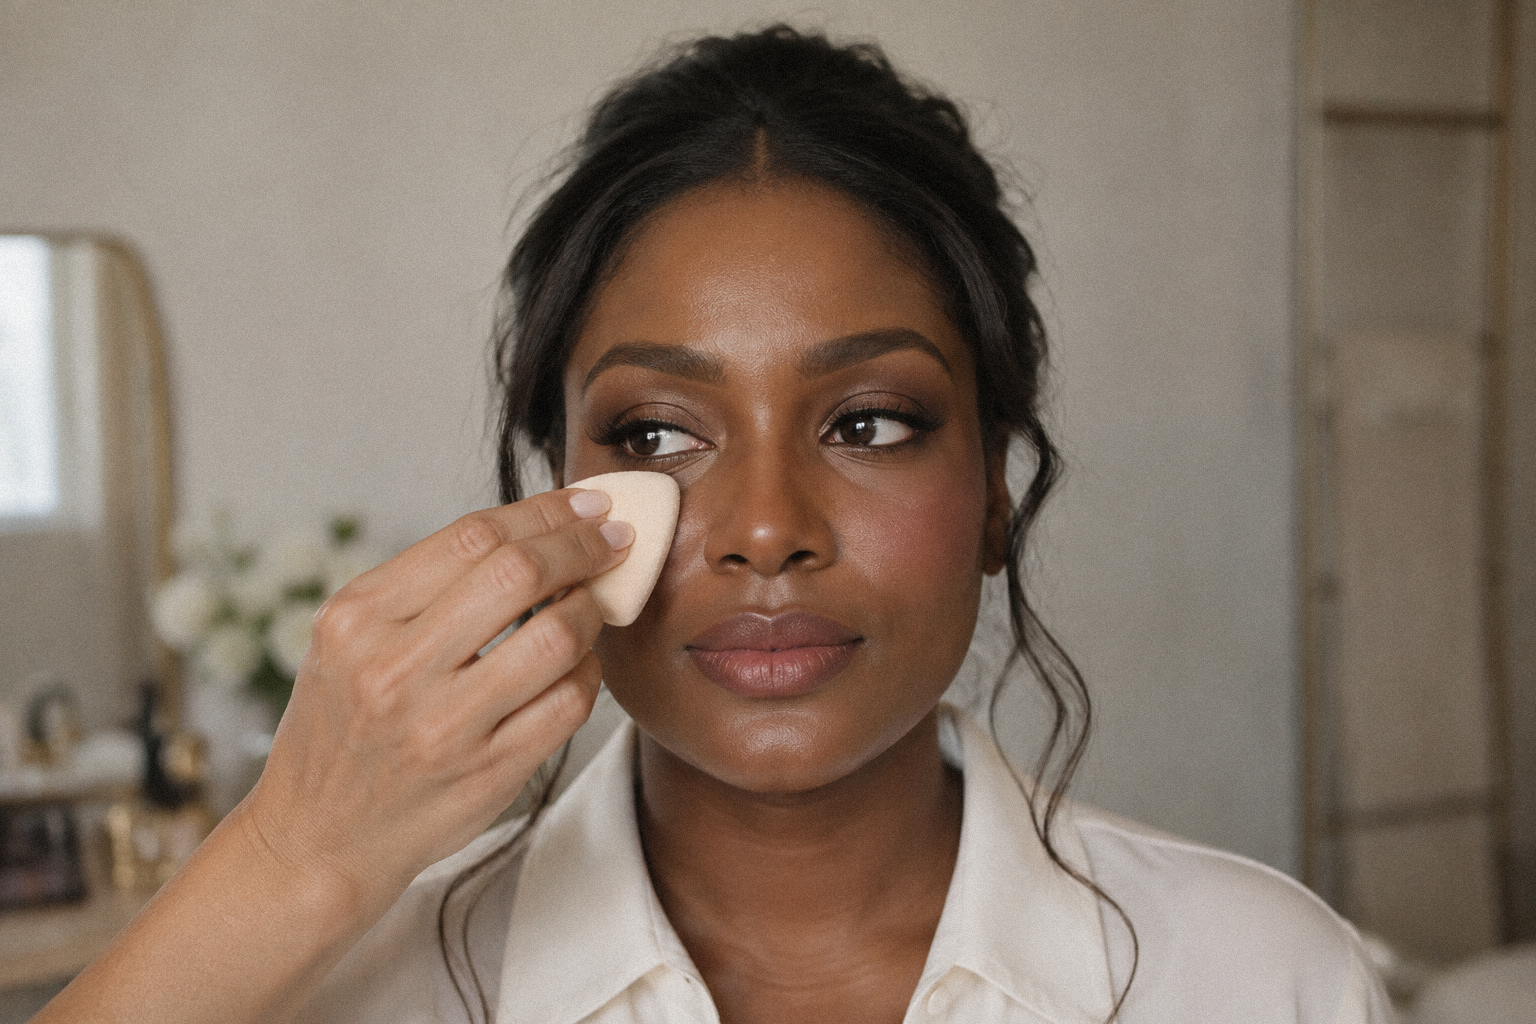
Long-lasting makeup for wedding celebrations starts with skin-specific preparation, thin layers and selective setting—not heavier foundation. Build the application around your client’s skin, the venue and the schedule, then use a bridal makeup trial to establish where touch-ups will actually be needed.
In short:
- Test the complete skincare-and-makeup combination before the wedding.
- Build coverage locally; do not apply extra foundation everywhere.
- Set movement and shine-prone areas without flattening the entire complexion.
- Prepare for tears, meals and friction with specific repair techniques.
- Schedule checks before photographs, after the ceremony and after eating.
How do you make wedding makeup last all day?
Start with skin prep suited to your client, then apply tested complexion products in thin layers. Set shine-prone areas selectively, layer cream colour with powder where useful, and choose long-wear eye and lip products. Finish with setting spray, then use a trial and scheduled touch-ups to adapt the application to the wedding.
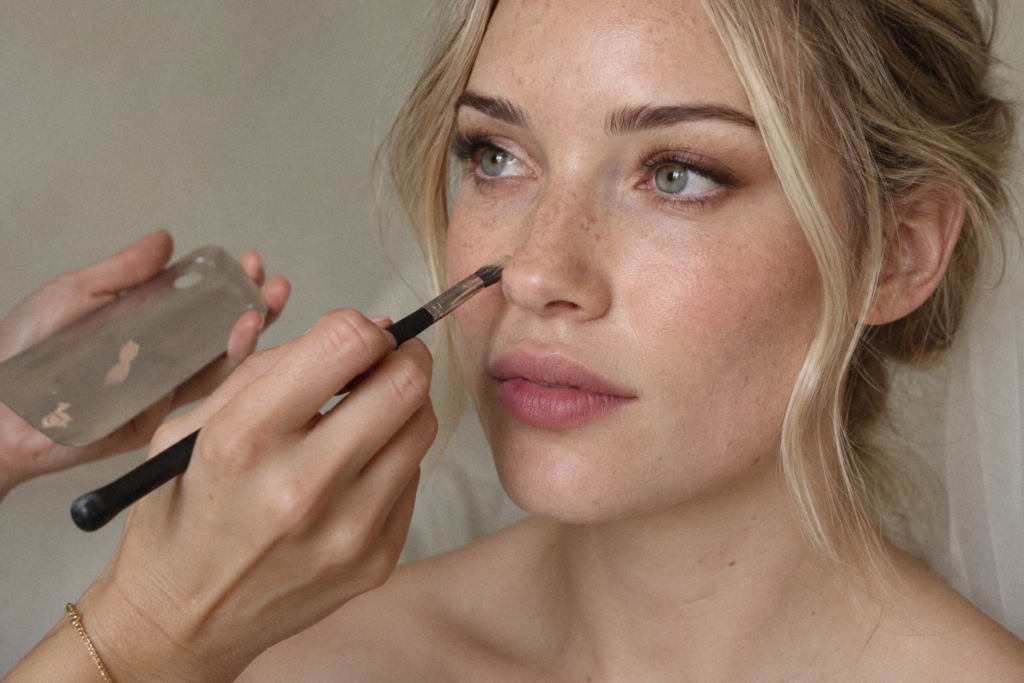
Follow a controlled application sequence
- Prepare, then assess. Cleanse gently and apply the client’s familiar moisturiser. Before foundation, check whether the surface still feels excessively slippery.
- Prime for a reason. At the trial, compare targeted primer against preparation alone: mattifying on an oily nose, for example, rather than automatically priming every area. Keep whichever version wears better.
- Apply one sheer foundation layer. Work a small amount of long-wear foundation from a palette with a synthetic brush, then stipple to soften edges. Add concealer with a small brush only where discolouration remains. Follow the formula’s working time rather than repeatedly buffing a layer that has begun to set.
- Place colour before setting. Try cream-to-powder layering: tap cream or liquid blush onto the cheek, then press a light veil of a similar powder shade over it. Treat this as an option to test, not a compulsory extra layer on dry cheeks.
- Powder selectively. Smooth any collected concealer first. Press a lightly loaded puff beside the nose, through the central forehead and wherever the trial showed movement; brush away excess.
- Finish without soaking. Choose a setting spray intended for extended wear and follow its distance, eye-closure and drying instructions. Check the product description: hydrating, refreshing mists are not the same as makeup-locking setting sprays, so do not assume every mist serves the same purpose.
Test compatibility instead of trusting a shortcut
For me, one of the most important foundations of long-lasting makeup is a basic understanding of product formulas: whether they are water-based or silicone-based, how they interact when layered, and how that combination behaves over the hours that follow. In my experience, most application errors come down to gaps in that understanding or choosing products that do not suit the client’s skin.
Use that formula knowledge as a starting point, not a shortcut. Do not approve a pairing solely because both products are described as water-based or silicone-based. Test the exact skincare, sunscreen, primer and foundation together. If they pill or separate, repeat the application with less skincare or without primer, changing one variable at a time.
I also make a point of checking comfort during the trial, especially with sensitive skin. Some long-wear products, including fixing sprays, contain alcohol; read the formula information and follow the manufacturer’s testing and application instructions. A ‘dermatologically tested’ label does not mean a product will suit every client. Include these products in the advance trial rather than introducing them on the wedding morning, and stop using anything that causes discomfort.
How should you adapt long-lasting wedding makeup for clients with oily or dry skin?
Use the client’s current skin condition to decide where to moisturise, prime and powder. Start with the following trial options rather than prescribing one finish for the whole face.
| Skin type or condition | Preparation to trial | Base and setting approach |
|---|---|---|
| Oily | Light moisturiser; targeted mattifying primer if testing supports it. | Thin soft-matte foundation; press powder into areas that become shiny. |
| Dry or flaky | Familiar richer moisturiser on dry patches; no last-minute scrubbing. | Trial a flexible satin finish; stipple rather than repeatedly buffing; minimise powder on flakes. |
| Combination | Prepare cheeks and T-zone separately. | Keep cheeks lightly set while treating the nose and forehead more selectively. |
| Sensitive or reactive | Keep to previously tolerated products and a simple routine. | Trial the entire application in advance; stop using anything that causes discomfort. |
Avoid introducing unfamiliar masks, exfoliants or complexion products immediately before the wedding. Record the skincare used at the trial so wedding-morning preparation does not become an untested variable.
Check powder and colour across skin tones
Test translucent setting powder on the face rather than assuming it is invisible. On dark skin, inspect for a grey cast; on fair skin, check that tinted powder has not added unwanted yellow or orange. Choose blush depth to suit the client: compare soft rose or peach on fair skin, richer rose or terracotta on medium skin, and saturated berry or warm red on deep skin.
How do you keep bridal eye and lip makeup in place?
Trial long-wear formulas separately from the complexion, then check transfer, comfort and fading.
Map the eye with the client looking straight ahead
Apply a thin eyeshadow primer according to its directions, then build shadow without leaving thick cream deposits in the crease. Trial waterproof mascara and eyeliner rather than switching formulas on the wedding morning.
For hooded eyes and monolids, inspect where the lid touches itself and let liner set before normal blinking. For deep-set eyes, check lash tips against the upper lid; for downturned eyes, assess the wing with the eyes open. Fit lashes without a poking inner corner, using our guide to choosing false lashes for each eye shape.
Choose a lip finish the client can maintain
Apply balm during preparation, then remove excess before liner. Trial a lip stain or a thin long-wear lipstick application, following its drying instructions. If the client dislikes a dry finish, choose a comfortable satin lipstick and explicitly plan its reapplication after eating.
How long should professional bridal makeup last?
Set the goal around the booked schedule, not a universal number of hours. Agree that the complexion and eye design should remain presentable through the planned events, with maintenance for lipstick, shine and any tear or friction damage.
Run a useful bridal makeup wear test
For me, the bridal trial is as much about confidence as it is about wear. A wedding day carries emotion, expectations and a timetable: the bride has to be ready at an agreed time. I want the foundation, concealer and shades already mapped out, with the combination checked in natural and artificial light and tested for wear on her skin. Both the artist and the bride can then approach the day knowing that the application has been tested beforehand.
- Reproduce the application. Record skincare, products, shades, tools and approximate amounts.
- Photograph the starting point. Capture front and side views in daylight, indoor light and direct flash, without beauty filters.
- Use practical checkpoints. As a suggested protocol, inspect at two, four and eight hours—or through the actual expected wedding-day window.
- Record before repairing. Note shine, missing coverage, crease lines, lip fading and discomfort. Include meals and ordinary movement rather than sitting still all day.
- Change one variable. Retest a thinner nose application or different powder before replacing the entire routine.
Include sunscreen and photography in the same test
For outdoor exposure, the American Academy of Dermatology recommends broad-spectrum, water-resistant SPF 30 or higher, with reapplication every two hours outdoors and after swimming or sweating. Plan shade and a practical sunscreen-reapplication strategy rather than skipping protection to preserve makeup.
Photograph the complete sunscreen-and-makeup combination. Check face-to-neck colour, powder cast and excessive highlight in direct flash; do not judge photographic performance from the SPF number alone.
How do you keep wedding makeup from melting in heat or humidity?
For humidity and heat, prioritise a cool application space, restrained layers and opportunities to blot. Build these practical precautions into the schedule instead of relying on extra powder.
- Sweat: move into shade or air conditioning when possible. Press a clean tissue against moisture and lift; let the surface dry before assessing repairs.
- Tears: demonstrate how to catch moisture at the inner corner with a folded tissue, without dragging across concealer.
- Veils and clothing: use a button-front getting-ready garment, let makeup dry before dressing, and check veil-contact areas before portraits.
- Hugs and dancing: avoid unnecessary foundation below the jawline where fabric will rub, and schedule a check before evening photographs.
Is airbrush or traditional makeup better for a wedding?
Choose the application that performs better on the client during the trial. Do not treat airbrush makeup as a guarantee of longevity or traditional makeup as automatically heavier.
For an airbrush trial, assess the finish over texture, shade accuracy and how easily you can repair a small missing patch. For a traditional brush-and-sponge application, assess coverage control and whether your layers remain thin. If you combine techniques, test that exact combination—including its touch-up method—before offering it for the wedding.
What should be in a bridal makeup touch-up kit?
Pack the products the client can use confidently, with instructions tied to the wedding schedule. Demonstrate the sequence: blot, inspect, then repair only what needs it.
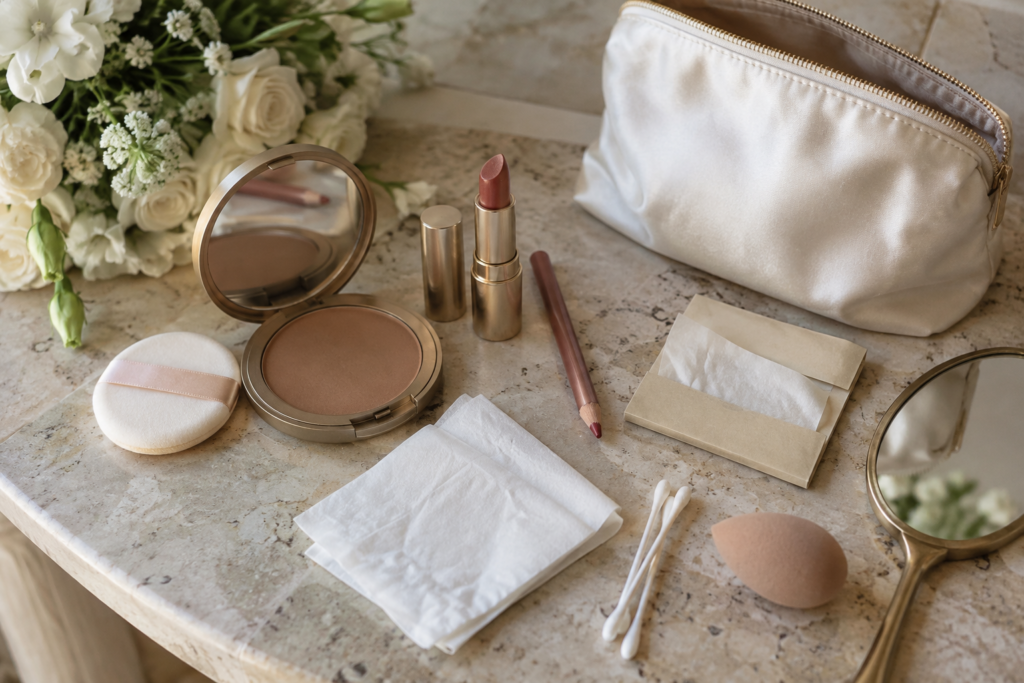
Prepare a compact artist-approved kit
- Blotting papers and soft tissues.
- The tested pressed powder and a clean small puff.
- The exact lip colour and liner, plus a mirror.
- Cotton buds and a clean mini sponge.
- A small, hygienically prepared concealer sample, if you have demonstrated its use.
- A short instruction card and the artist’s contact details.
Assign checks to moments, not arbitrary intervals
Before first-look photographs: check the nose, under-eyes, lash corners and lip outline. After the ceremony: inspect for tear tracks before adding powder. After the meal: remove loose lip colour and reapply thinly. Before dancing: blot shine, then powder only if needed.
Give one trusted attendant responsibility for the kit and allow a few minutes for these checks in the running order.
How do you fix separation, creasing or fading?
Repair the smallest possible area rather than covering the entire face again. Use these as trial-tested rescue steps, not reasons to keep adding product.
| Problem | Targeted repair |
|---|---|
| Separated foundation | Blot, gently lift loose product with a clean sponge, then stipple a tiny amount of base into the gap. |
| Creased concealer | Smooth the collected product with a clean small brush; reassess before adding any powder. |
| Shine without missing coverage | Blot first. Add a trace of powder only if shine remains. |
| Faded cheek or lip colour | Restore colour locally. Remove loose lip flakes or crumbling product before reapplying. |
FAQ
Should the bride be first or last in the makeup schedule?
Work backwards from the earliest dressed-and-ready photograph, not only the ceremony. Reserve time after makeup for dressing, hair adjustments and a final check; avoid a schedule that leaves the bride rushed.
Should you try a new facial shortly before the wedding?
Do not make an unfamiliar treatment part of your last-minute makeup preparation. Ask the client about planned treatments during the consultation and keep wedding-morning skincare consistent with the successful trial.
How should long-wear bridal makeup be removed?
Follow each product’s removal instructions and provide a suitable eye-makeup remover recommendation with the kit. Encourage gentle removal rather than scrubbing, particularly around lashes.
The most useful long lasting makeup tips produce a repeatable application: document the preparation, control each layer and rehearse the repairs. For further technique study, explore Raphael Oliver’s LockedBeauty™ Method through Raphael Oliver Academy, then bring the same test-and-adjust discipline to your next bridal trial.