

Makeup Trends Right Now: Anti-Blush and Autumn 2026 Looks
Muted cheeks need carefully chosen colour, not simply less blush. Here is how to create anti-blush across skin depths and balance it with autumn’s expressive eyes and softly blurred lips.

By Raphael Oliver
· 9-minute read
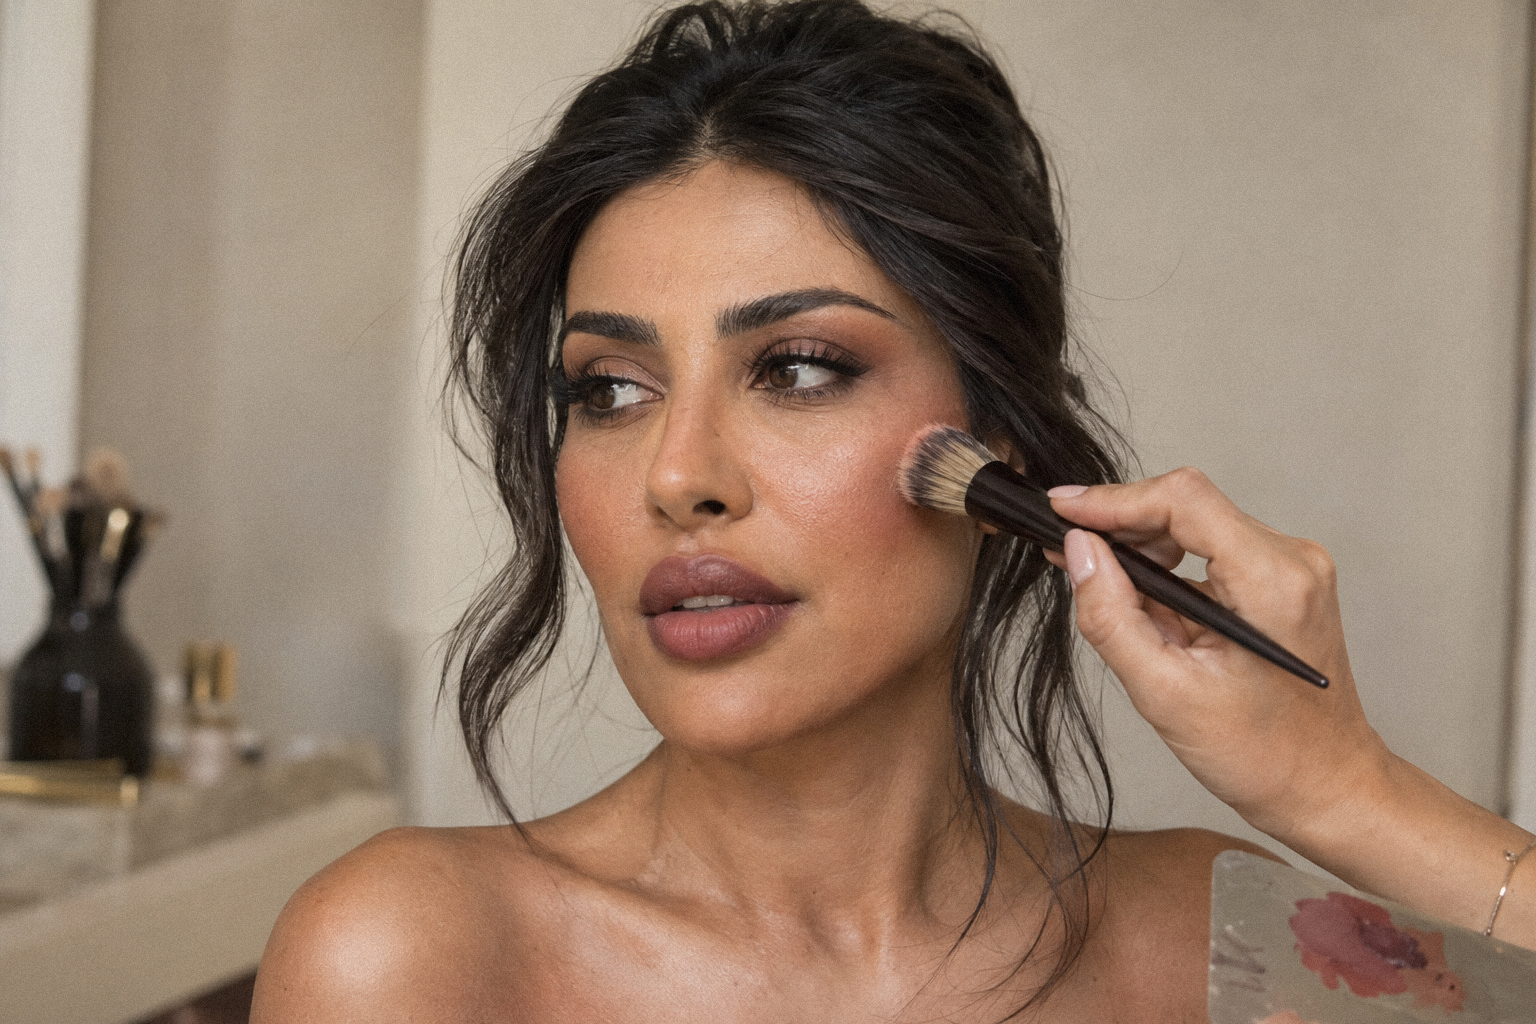
The makeup trends right now include softer cheek colour alongside expressive eyes and blurred lips. Anti-blush is the cheek technique to understand: muted colour rather than necessarily no blush, with enough definition to keep the face dimensional.
This guide translates those directions into practical choices for your clients.
In short:
- Choose muted colour relative to the client’s complexion, not a universal beige.
- Keep cheek colour above any contour rather than blending both into one stripe.
- Try one statement feature: berry lips, cool-toned shadow or sculptural lashes.
- Check subtle cheeks in natural light and flash photographs before adding more product.
What Makeup Trends Are Popular Right Now?
For autumn and winter 2026, current makeup trends include natural-looking skin with controlled sheen, blurred or feathered lips, berry and burgundy shades, and expressive eyes through smoky shadow, statement eyeliner and cool-toned colour. For a client-ready interpretation, choose one focal feature and adjust the depth, placement and finish to the person.
The Seasonal Edit: 10 November 2026
Treat this as a Northern Hemisphere autumn/winter edit, not a rulebook. Our practical interpretation of the season is:
- Skin: try a skin tint, pinpoint concealer and selective powder rather than uniform coverage.
- Cheeks: choose rose-brown, muted terracotta or plum-brown instead of automatically reaching for pale beige.
- Lips: soften berry lipstick at the border; reserve opaque burgundy and oxblood tones for a stronger focal point.
- Eyes: experiment with a soft smoky eye, a narrow blue accent or spaced lash clusters.
- Brows: balance statement makeup with feathery brows, brushing hairs into their natural direction and filling only visible gaps.
What Is Seasonal, and What Is a Social-Media Label?
Anti-blush is a current label for restrained cheek colour, not evidence that bright blush has disappeared. In ELLE’s October reporting, makeup educator Rose Siard suggests retaining dimension by leaving more skin visible through the cheek area.
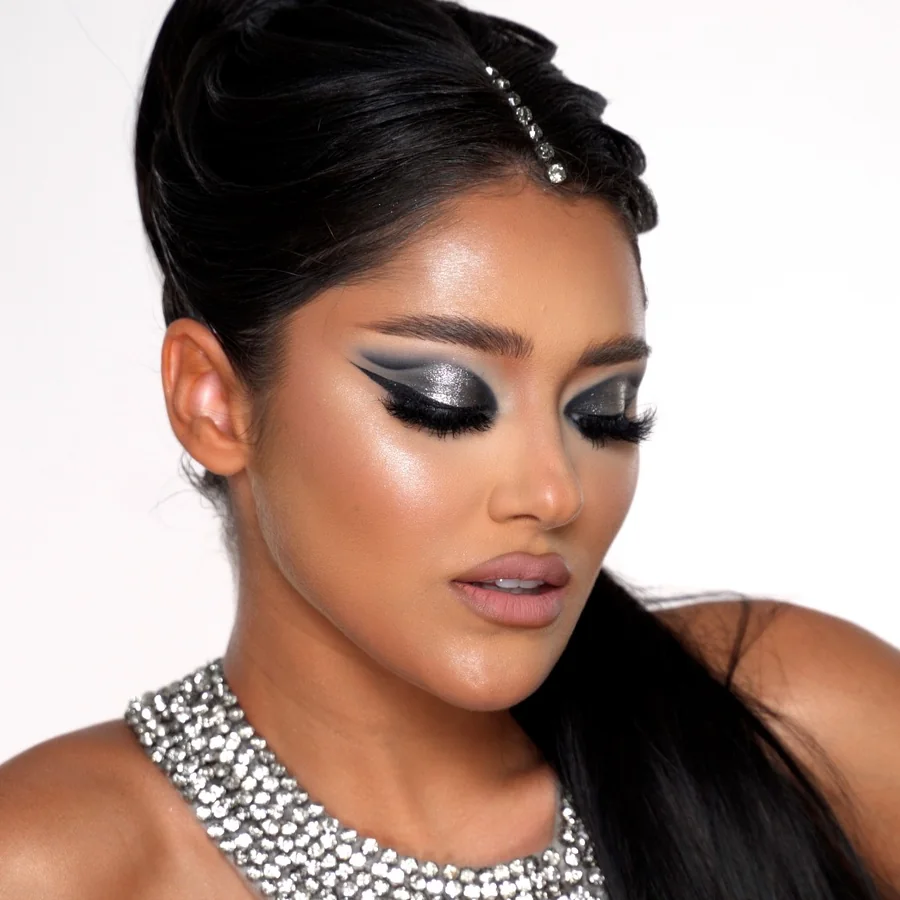
Runway makeup offers a broader reference: Harper’s Bazaar documented angular liner by Raisa Flowers at LaQuan Smith and softer, smudged liner by Diane Kendal at Tory Burch for autumn/winter 2026. Both offer useful starting points; you need not copy their full scale.
What Is Anti-Blush, and Which Shades Suit Different Skin Tones?
Anti-blush means choosing subdued cheek colour rather than an overtly bright flush. As ELLE’s anti-blush explanation makes clear, wearing blush still fits the look.
Choose Depth Before Choosing a Trend Shade
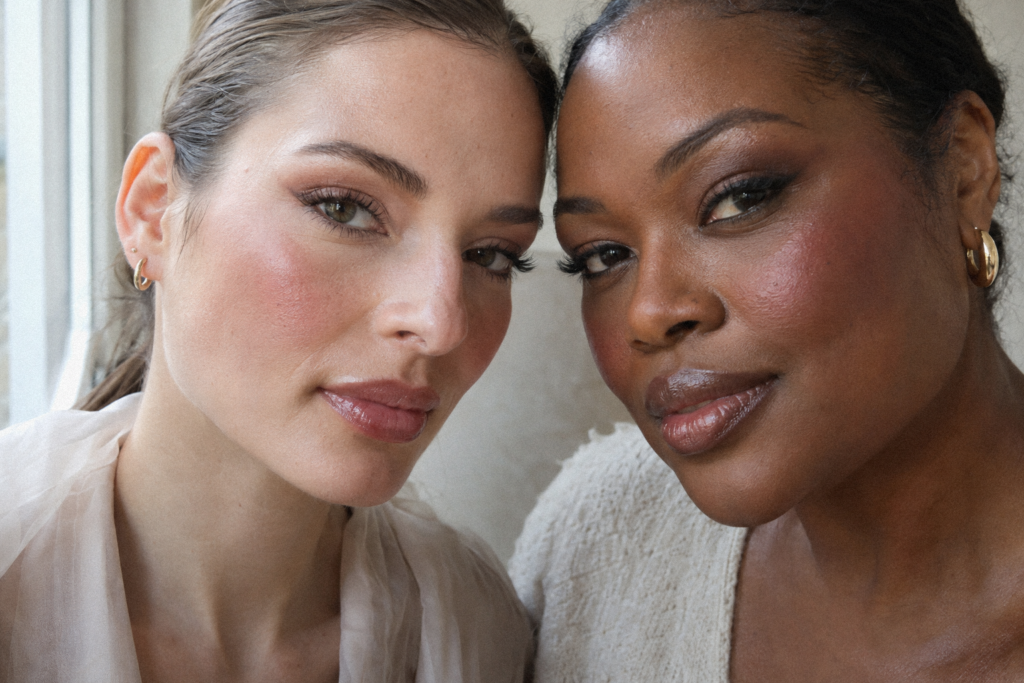
For your kit, separate three decisions: how light or dark the shade is, how vivid it is, and how opaque the application becomes. Aim for restrained colour without automatically making it lighter.
| Skin Depth | Muted Shades to Test | Application Starting Point |
|---|---|---|
| Fair to light | Dusty rose, pink-beige, soft peach-brown | Unload the brush thoroughly; build a small veil. |
| Medium | Rosewood, muted apricot-brown, soft cinnamon | Compare two undertones on the cheek before committing. |
| Tan to deep | Terracotta-brown, toasted rose, subdued brick | Keep enough pigment to distinguish colour from foundation. |
| Deep to very deep | Plum-brown, red-brown, muted raisin, rich rosewood | Test a sheer application of a deeper shade rather than an opaque pale nude. |
Use these as trial shades, not prescriptions. For makeup colour on dark skin tones, compare the swatch with the surrounding complexion after blending; do not judge only its appearance in the pan.
On a warm undertone, test terracotta-brown against rosewood. On a cool undertone, compare rose-brown with plum-brown. For olive skin, test both: reject whichever turns conspicuously orange, pink or grey on that particular client.
Fix Ashy, Invisible or Muddy Results
- Ashy: lift the pale layer with a clean sponge, restore the base locally and test a deeper, less milky shade.
- Invisible: try a slightly richer colour before applying several more layers of the same product.
- Muddy: remove excess where blush overlaps contour, then reapply colour higher on the cheek.
- Too bright: pick up excess with a clean brush or sponge; avoid burying it beneath opaque foundation.
For a teaching demonstration on dark skin, I would apply a light mauve with a whitish base on one cheek and a deeper mauve on the other, using thin layers under the same light. This lets the student see how the deeper shade can preserve a soft effect, while the lighter one may leave a greyish veil. The distinction matters: mauve is the colour family; the whitish base and the depth of the shade also influence the result. It is not simply a question of undertone.
From the AcademyMakeup Art — Artistic Makeup SpecializationTurn color, precision and creativity into your signature style, with 5 artistic looks taught step by step.Discover Makeup Art →How Do You Apply Anti-Blush Without Losing Dimension?
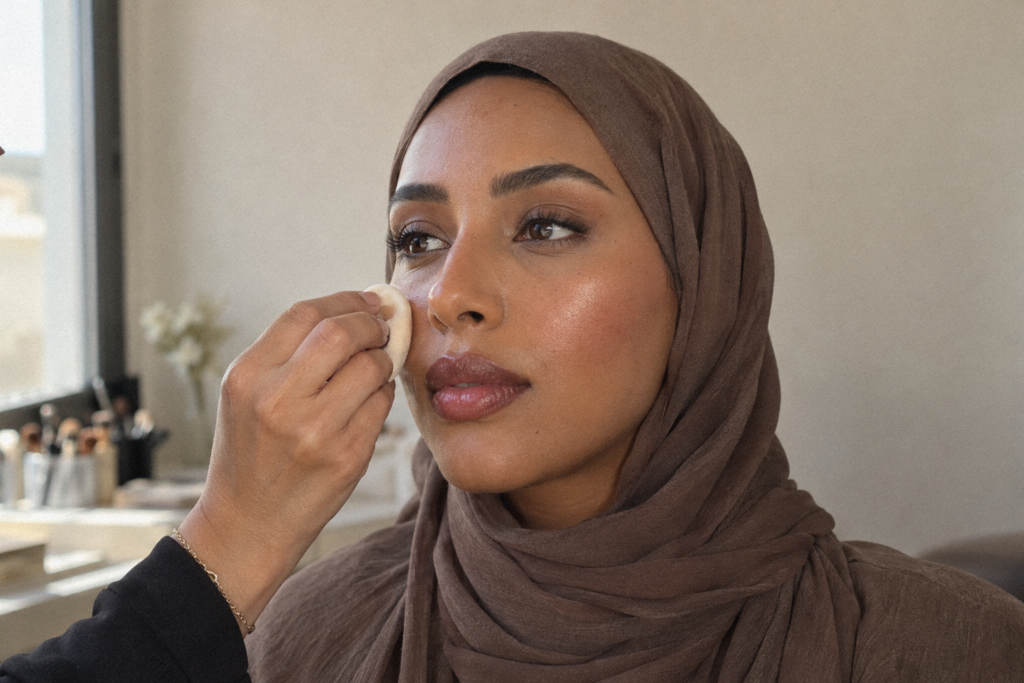
Keep the strongest colour in a deliberate cheek placement, then soften its boundary. Start with the following cream-blush workflow and leave contour optional.
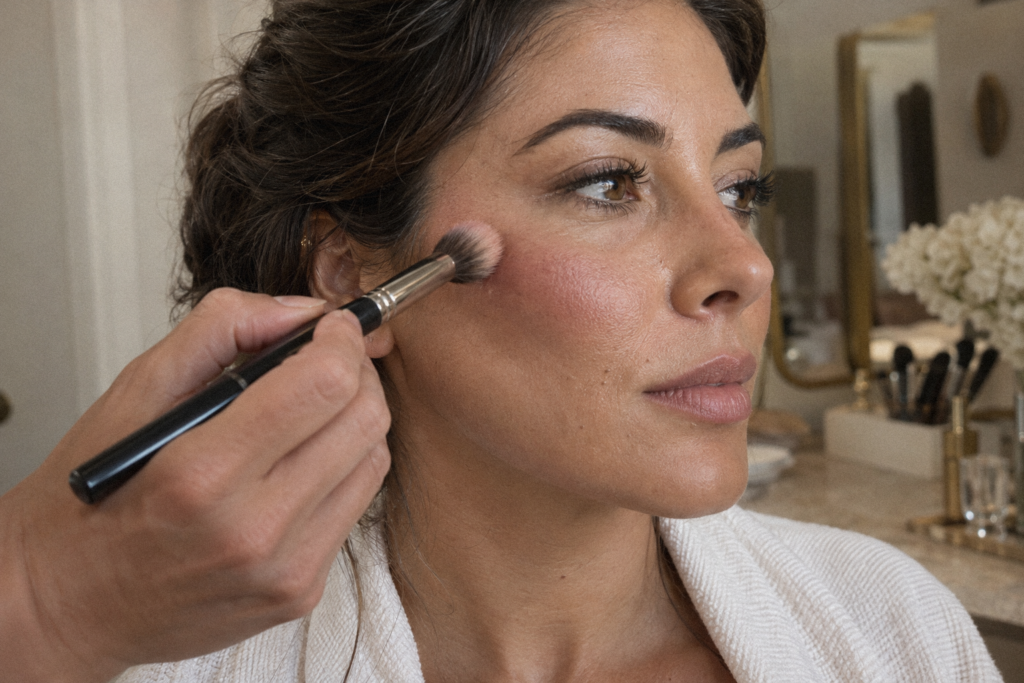
A Controlled, Six-Step Application
- Prepare selectively. Apply moisturiser where needed, then wait until the surface no longer feels slippery. Blot excess before foundation.
- Keep the base light. Apply thin coverage and conceal locally. Leave some natural cheek variation visible where the client is comfortable with it.
- Load on a palette. Spread a small amount of cream blush onto a clean palette. Work it into a small synthetic stippling brush, then tap off excess.
- Place with the face relaxed. Begin on the outer cheek’s rounded surface, above the hollow. Press rather than drag, keeping the initial patch compact.
- Blend the boundary. Use a clean brush around the perimeter without repeatedly sweeping through the centre. Check both cheeks before adding another thin layer.
- Separate colour from structure. If contour is needed, apply a restrained amount beneath the cheekbone. Keep any highlight small and distinct from both.
Adapt the Placement, Not Just the Shade
For a lifted interpretation on a fuller face, test a compact outer-cheek placement rather than spreading colour towards the nose. For a longer face, try a slightly more horizontal placement through the middle cheek. On angular cheeks, keep the colour on the rounded surface instead of tracing the hollow.
Check every placement with the client looking straight ahead. Ask whether they prefer lift, softness or a visible flush rather than assuming one shape needs correcting.
What Skin Finish Is Trending: Dewy, Matte or Natural?
Selective sheen is part of the current direction: reflective cheekbones with more controlled central areas, rather than an entirely glossy face. Allure’s autumn trend report describes this balance through artist commentary on balmy skin finishes.
Choose the Cheek Texture for the Client
For dry areas, start by testing a satin cream blush over a lightly moisturised base. For oily areas, compare a setting cream with a finely milled powder blush; evaluate the actual result rather than assuming every formula in a category behaves alike.
On visible texture or fine lines, begin with a thin satin layer and inspect it in side lighting before adding shimmer. If you choose powder blush, apply it over a lightly set base and build with a small, soft brush.
How Do You Create a Blurred or Feathered Lip?
Keep colour concentrated within the lip and deliberately soften the border. Here, feathered lips means an intentional diffused edge, not lipstick migrating into surrounding lines.
For a celebrity makeup reference, Georgie Eisdell created Naomi Watts’s blurred red lip for a July 2026 couture appearance, combining liner with tapped-on lipstick rather than a fully graphic finish.
A Four-Step Lip Application
- Apply a little balm during skin preparation, then blot away excess.
- Use a lip-toned or brown lip liner only where you want definition. Blend it inward with a lip brush.
- Press a small amount of satin or soft-matte lipstick into the centre and distribute it towards the border.
- With a clean brush, tap along the edge to diffuse it. Keep the mouth corners precise.
How Can You Make Berry or Burgundy Lipstick Wearable?
Begin with a sheer layer and assess it against the client’s natural lip pigmentation. Try raspberry-brown for a softer interpretation or burgundy and oxblood for more depth; do not use skin depth alone to decide intensity.
For unevenly pigmented lips, apply your first thin layer across the whole lip before concentrating extra colour centrally. Pair the result with muted cheeks rather than adding another equally strong colour statement.
What Eye Makeup Colours Are Trending This Season?
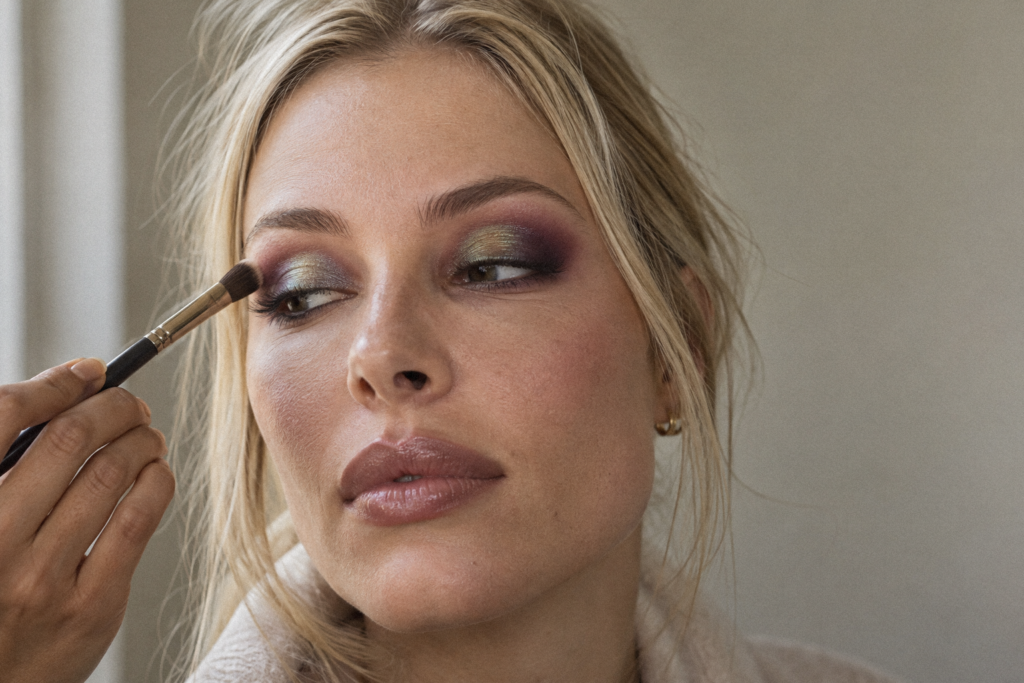
Cool mineral shades and soft smoky colours are current options, alongside more graphic liner and sculptural lashes. Think slate, pewter, plum and charcoal rather than treating every smoky eye as black shadow.
Translate Colour Theory Into a Small Accent
The TikTok makeup vocabulary includes eyemaxxing: using colour theory and placement to emphasise the eyes. In ELLE’s reporting, artist Tasha Reiko Brown recommends a customised approach rather than simply heavier application.
Try blue eyeshadow as a narrow upper-lash accent, or blend plum cream eyeshadow into a compact smoky shape. On fair skin, begin sheer; on dark skin, compare the shade’s depth and opacity in a small test before committing to a pale pastel.
From the AcademyMaster of Makeup — the complete courseFrom skin prep to finished looks: build a professional foundation with Raphael Oliver’s 16 years of technique.Start learning →Adjust for Eye Shape
- Hooded eyes: map the visible colour with the eye open, then connect the shape with the lid lowered.
- Monolids: try a lash-to-lid gradient, checking how much remains visible when the eye opens.
- Deep-set eyes: keep the darkest shadow close to the lashes and test a restrained satin finish on the mobile lid.
For sculptural lashes, trial a few separated clusters instead of a dense strip. Keep brows softly defined so the eye design remains readable.
How Can You Adapt Makeup Trends Right Now for Clients?
Choose the focal feature first, then test the complete face under the conditions in which it will be seen. Use our guide to adapting 2026 makeup trends for clients for a broader approach.
Check Lighting and Wear Before Adding More
For a client trial, I recommend checking the makeup in natural light and with flash photography.
Inspect muted cheeks in window light and take unfiltered photographs with flash and under the planned event lighting. If the cheek disappears, test slightly more colour depth before increasing shimmer or product thickness.
Schedule a wear check during the trial rather than promising a fixed number of hours. For event work, build the look around your long-lasting wedding makeup preparation and touch-up plan.
A Compact Artist’s Kit
Prepare warm and cool muted blush options across several depths, satin cream and fine powder textures, a small stippling brush, clean blending brush, sponge and mixing palette. Add berry lipstick, brown liner, a lip brush and one cool-toned eye accent.
FAQ
Can You Use One Product on Lips and Cheeks?
Choose lip-and-cheek products labelled for both uses. Decant separately onto a clean palette for each area, and test the finish independently rather than expecting identical results.
Should You Mix Foundation Into Blush?
For client work, start with less blush rather than immediately changing the formula. If you want to experiment with mixing, test a small batch on a palette and assess its application and wear before using it for an event.
What If Your Client Still Wants Bright Blush?
Keep it. Offer a more diffused edge or smaller placement if they want a seasonal update without losing the colour they enjoy.
Start your next practice session with two muted shades on the same model, photograph both and compare their depth, undertone and placement. For further creative practice, explore Raphael Oliver’s Makeup Art course.



The conversation
Join the conversation
A question, an experience or a different approach? Share it below.
No comments yet — be the first to share your thoughts.