

Long-Lasting Makeup for Oily Skin Without Cakiness
Build wear into your application rather than adding heavier coverage. This artist’s protocol covers targeted oil control, compatible layers and touch-ups that preserve a skin-like finish.

By Raphael Oliver
· 9-minute read
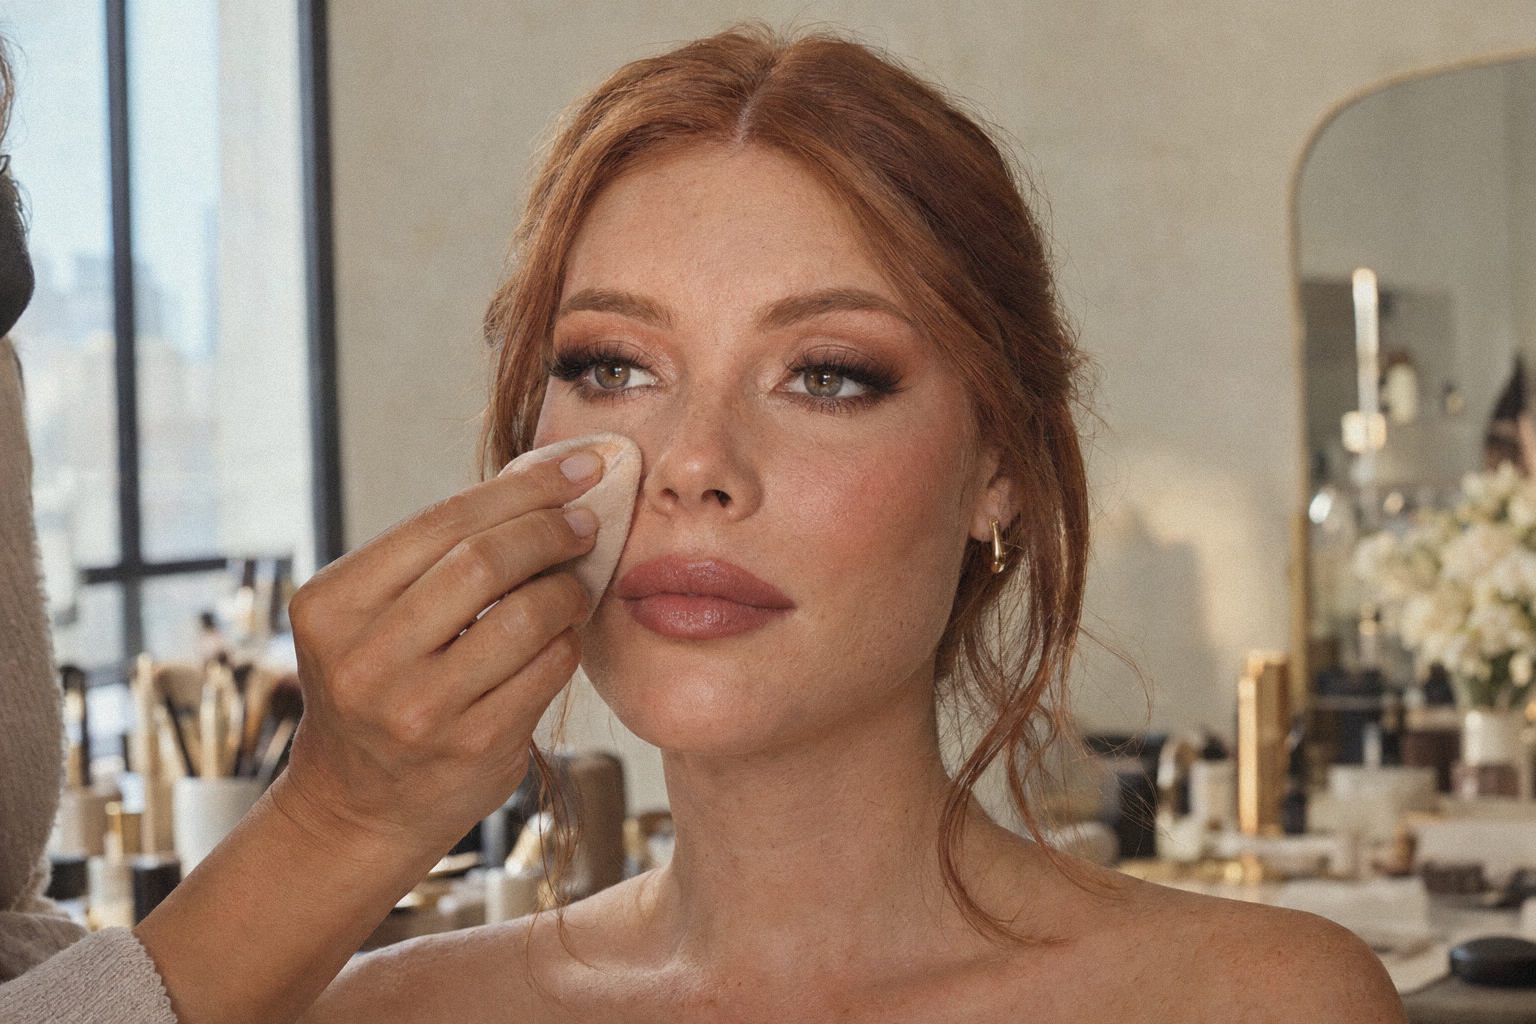
For long-lasting makeup for oily skin, build your application around targeted oil control, thin coverage and precise setting—not an increasingly thick matte base. Use the protocol below to plan placement, test compatibility and maintain the finish through a client’s event without making every area equally matte.
In short:
- Keep prep lightweight, but do not omit moisturiser or sunscreen.
- Map where makeup breaks down before deciding where to prime and powder.
- Build coverage locally rather than applying another full-face layer.
- Test the complete routine in realistic conditions; plan touch-ups instead of promising untouched perfection.
How do you apply long-lasting makeup for oily skin?
Start with gently cleansed, moisturised skin and allow sunscreen to settle. Apply primer where makeup breaks down, then work foundation into thin layers and spot-conceal. Press setting powder onto shine-prone areas, finish with setting spray, and blot excess oil before adding powder during touch-ups.
Map the client before choosing the finish
Ask where coverage disappears first, what skincare they used, and how their usual makeup behaves after several hours. Record the event length, outdoor exposure and opportunities for maintenance. Plan a controlled T-zone and softer cheeks for combination skin rather than treating the whole face as uniformly oily.
For a natural finish, reserve your strongest mattifying steps for the forehead centre, nose and chin. Use the cheekbones as your reference for how much luminosity to retain; our guide to velvet skin without a flat finish explores that balance.
What is the best order for primer, foundation, powder and setting spray?
Use skincare and sunscreen first, followed by targeted primer, foundation, concealer, cream colour, setting powder, powder colour and setting spray. Treat this as your baseline testing sequence, not a requirement to use every product.
Prepare without stripping the skin
Cleanse gently and apply a lightweight moisturiser. Oily skin still needs moisturising; the American Academy of Dermatology’s oily-skin guidance recommends gentle cleansing, moisturiser and oil-free makeup rather than harsh scrubbing.
For daytime outdoor exposure, choose broad-spectrum SPF 30 or higher, with water resistance when appropriate. Apply it generously according to its directions, including the pre-exposure waiting time; do not reduce the amount to improve makeup adhesion.
Schedule eye work while skincare settles. Before foundation, check whether the surface still feels wet or shifts under a light touch. Use this observation alongside product directions rather than assuming every formula needs an identical five-minute pause.
Before foundation, I want the skin to feel fresh and hydrated, but not oily or slippery. I particularly like serum formulas for oily skin: in my experience, they give me the hydration I want without adding too much oil.
Build the base in controlled stages
- Target primer. Press a small amount of oil-control or mattifying primer onto the identified breakdown zones. Leave comfortable, less oily cheeks alone.
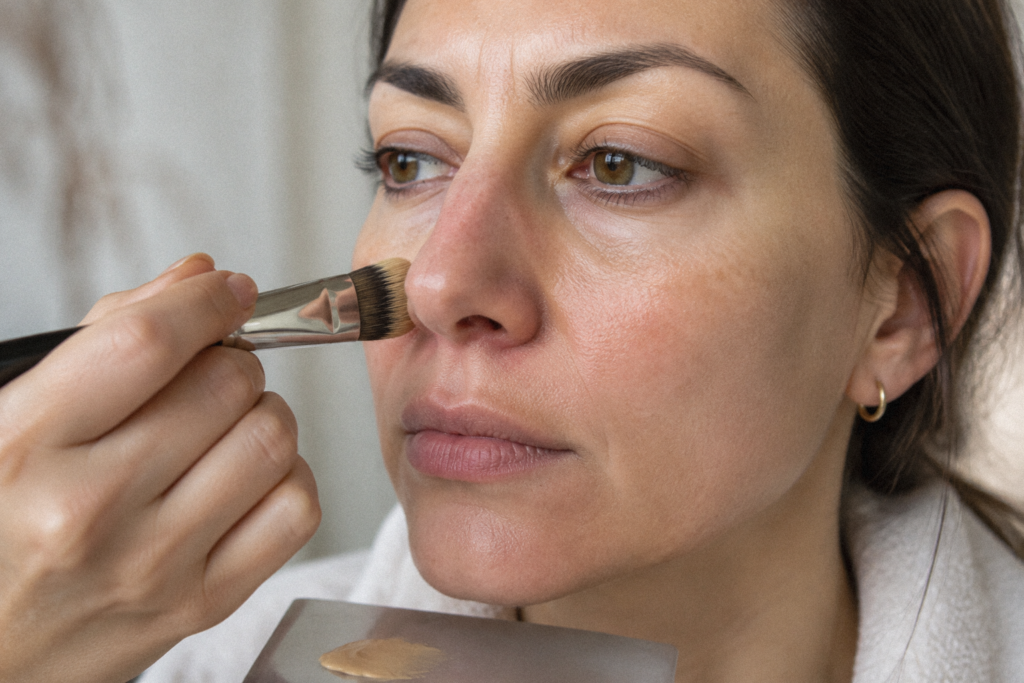
- Apply thin foundation. Dispense onto a clean palette. Pick up a little with a synthetic brush, distribute in small sections and stipple rather than repeatedly buffing.
- Spot-conceal. Use a small detail brush and long-wear concealer only where coverage remains insufficient. Blend the perimeter without spreading coverage across the whole cheek.
- Add cream colour. Tap it into place before powder. Pause if your tool begins lifting the foundation underneath.
- Press setting powder. Work a little loose translucent setting powder into a clean powder puff, tap off excess and press onto shine-prone areas. Use the puff’s edge beside the nostrils.
- Complete powder colour and spray. Apply remaining cheek colour, then finish with your tested setting spray according to its directions.
Thin foundation layers and targeted powder are useful starting points for avoiding an overloaded base. Press powder rather than repeatedly sweeping across freshly applied coverage.
Which foundation works best for oily skin?
Start your shortlist with long-wear, oil-free foundation in matte or natural-matte finishes. Oil-free makeup and matte finishes are recommended options for oily skin, but select the final product through a client-specific wear test.
Choose texture by coverage needs
Use this selection framework at the trial rather than treating one texture as universally superior.
| Product type | When to trial it | Application approach | What to check |
|---|---|---|---|
| Long-wear liquid | Adjustable coverage across oily or combination skin | Thin stippled layer; spot-conceal afterwards | Separation around the nose and comfort on drier cheeks |
| Powder foundation | Clients wanting a quick, lighter routine with fewer liquid layers | Brush on lightly; press locally for coverage | Build-up over concealer and visible flakes |
| High-pigment cream | Localised coverage needs | Apply sparingly with a detail brush; test targeted setting | Movement, heaviness and transfer |
Check colour from fair to deep
Evaluate foundation and powder together against the neck and chest in daylight. On fair skin, check that tinted powder does not introduce unwanted yellow or pink; on medium, tan and dark skin, inspect for grey or ashy areas. Do not assume a powder labelled translucent will be invisible on your client.
From the AcademyMakeup Art — Artistic Makeup SpecializationTurn color, precision and creativity into your signature style, with 5 artistic looks taught step by step.Discover Makeup Art →Take a direct-flash photograph as well as a daylight image. Inspect the under-eyes, nose and centre forehead for pale patches or flashback before approving the complete combination.
Should you use powder or cream blush on oily skin?
Trial powder blush first when cheek shine is a recurring problem; trial a thin, self-setting cream when preserving a satin finish matters more. Make the decision from cheek behaviour, not the client’s skin-type label alone.
Place colour without disturbing coverage
For powder blush, lightly set any tacky foundation first, then build colour with a soft brush. For cream, load a small amount onto a clean brush and tap rather than drag. Keep placement precise, particularly where the cheek meets an oily nose area.
If you want cream topped with powder blush, use restrained amounts of both. On dark skin, test sufficiently pigmented berry, brick or warm rose tones; on fair skin, begin with a lighter deposit. Match undertone and the intended look rather than following a rigid complexion rule.
Does setting spray help makeup last on oily skin?
A film-forming setting spray can support wear, while setting powder absorbs excess surface oil and controls shine. They perform different jobs, so trial both together when the client needs oil control and improved makeup hold.
Choose by function, then follow directions
For this protocol, select a spray described as supporting makeup longevity rather than choosing solely for a dewy finish. Check what a product labelled setting spray or finishing spray actually promises, then verify the result in your wear test.
Follow the specified spraying distance and eye-safety instructions. Apply an even mist without soaking the face, and let it dry before assessing transfer or adding anything else.
How do you stop foundation getting cakey, patchy or separating?
Identify what failed before adding product: immediate rolling, missing coverage and midday shine call for different tests. Pilling involves products forming small rolls or flakes. Test both your application technique and your product combination rather than assuming a single cause.
Run a compatibility test instead of guessing
- Simplify one variable. At the trial, keep moisturiser, sunscreen and foundation constant; omit primer on one side.
- Standardise application. Use comparable quantities and settling time. Keep sunscreen at its directed amount.
- Test motion separately. Compare gentle pressing with your usual brush technique. Note when rolling or lifting first appears.
- Change one product next. If necessary, test another primer or sunscreen on a separate trial. Do not replace everything simultaneously.
Do not diagnose every problem as a water-versus-silicone mismatch. Compare how the complete routine behaves with different application motions before deciding which formula to replace.
Repair the smallest possible area
- Shine with intact coverage: blot first, then reassess before adding powder.
- Visible cakiness: stop adding product. Gently press with a clean, dry sponge; if the area remains overloaded, remove and rebuild that patch.
- Separation or missing coverage: lift away loose residue, blend the remaining edges and stipple on a minimal replacement layer.
If a repair removes sunscreen, restore protection according to its directions before rebuilding makeup for outdoor wear. Do not solve pilling by deliberately underapplying SPF.
How should you touch up oily skin without making makeup cakey?
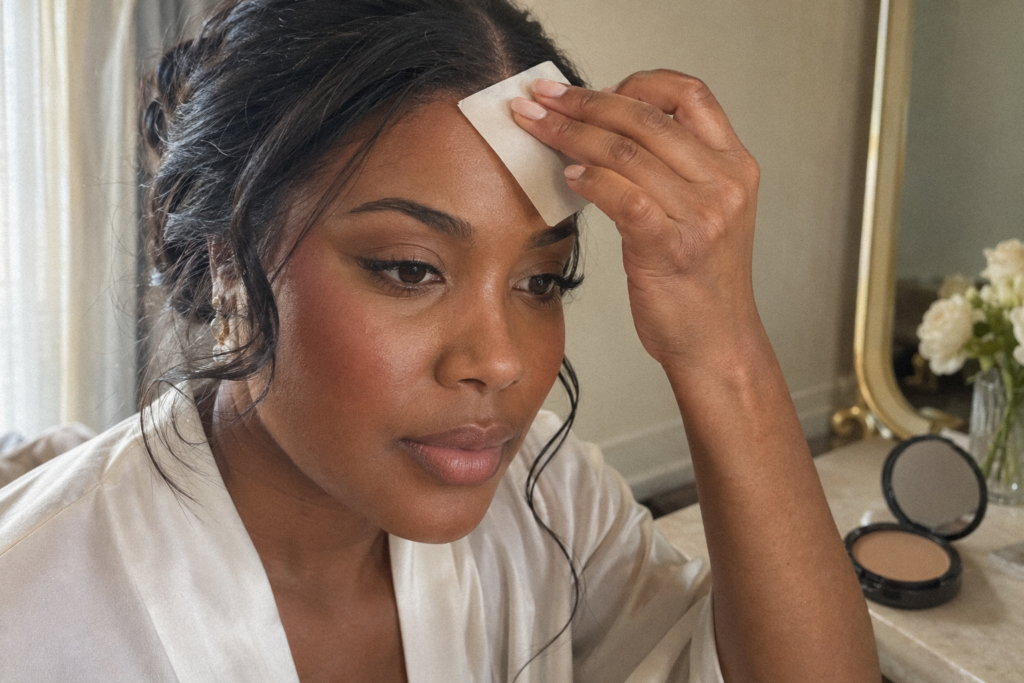
Press blotting paper onto shine and lift it away before deciding whether more powder is necessary. Avoid rubbing: the American Academy of Dermatology recommends gentle pressing and limiting unnecessary face touching.
Use a restrained touch-up sequence
- Move the client somewhere cooler if they are actively sweating; gently absorb visible moisture with tissue.
- Blot oily areas with fresh blotting paper.
- Check whether coverage needs repair or only shine control.
- Press a trace of pressed powder onto remaining shiny areas with a clean puff.
Pack blotting papers, tissues, a clean puff and the tested powder. For event scheduling, pair this routine with our all-day wedding makeup plan.
How do you test makeup for all-day wear and humidity?
Test the complete application through conditions resembling the event, and document maintenance as part of the result. Use product wear claims to shortlist candidates, not as your promise to the client.
From the AcademyMaster of Makeup — the complete courseFrom skin prep to finished looks: build a professional foundation with Raphael Oliver’s 16 years of technique.Start learning →Keep a repeatable trial record
Photograph the finished application, then check at two, four and eight hours when that matches the booking. Record indoor versus outdoor time, heat, humidity if measured, visible sweating and every touch-up. Extend the test for longer events.
Score shine, separation, creasing and coverage loss separately from zero to three: none, slight, noticeable or unacceptable. If testing transfer, use the same tissue-press method on a small area each time. Repeat with only one changed variable so your notes remain useful.
Decide what needs changing after the trial
During a humid-weather bridal trial, I distinguish between a combination that needs changing and an application that needs a local adjustment:
- Early separation across several areas: if the foundation starts separating early and loses coverage in several places, I test another combination of skin preparation and foundation.
- T-zone shine after a few hours: if shine appears only in the T-zone and coverage remains even, I can plan a localised touch-up.
- Concealer collecting in one particular crease: I first adjust the amount of product and the area where I apply it.
FAQ
Use these adjustments for specific finishing and maintenance decisions.
Should you bake oily skin?
Do not make baking your default. Begin with a light pressed layer of powder and test whether anything more is needed. Reserve heavier powder application for a specific trialled purpose rather than covering the whole face or under-eye area automatically.
How should you adapt eye makeup for oily lids?
Trial a dedicated eye primer, thin shadow layers, crease-resistant concealer where needed and waterproof mascara. For hooded eyes, inspect transfer with the eyes open; for deep-set eyes, keep the inner lid light and the socket layers restrained. On monolids, check the actual contact and fold areas rather than assuming where creasing will occur.
How do you handle sunscreen reapplication over makeup?
Plan for it before an outdoor booking. Sunscreen needs reapplication at least every two hours outdoors and after swimming or sweating, following its directions; prioritise protection even if the base needs repair. The FDA’s sunscreen guidance also recommends shade and protective clothing.
Build the lightest application that meets the client’s coverage needs, then spend your precision on placement, testing and maintenance. Aim for a finish you can preserve—not a thicker base you hope will survive.
Study the LockedBeauty™ Method
Raphael Oliver’s Bridal Online Masterclass includes LockedBeauty™ skin preparation within complete bridal looks. Visit Raphael Oliver Academy to explore the masterclass and develop your bridal application practice.


The conversation
Join the conversation
A question, an experience or a different approach? Share it below.
No comments yet — be the first to share your thoughts.