Makeup Trends for Fall 2026: Velvet Skin Without Flatness
Autumn’s soft-focus complexion is not an invitation to powder everything. Build a velvety base with precise coverage, fluid under-eye layers and light left exactly where you want it.

By Raphael Oliver
· 9-minute read
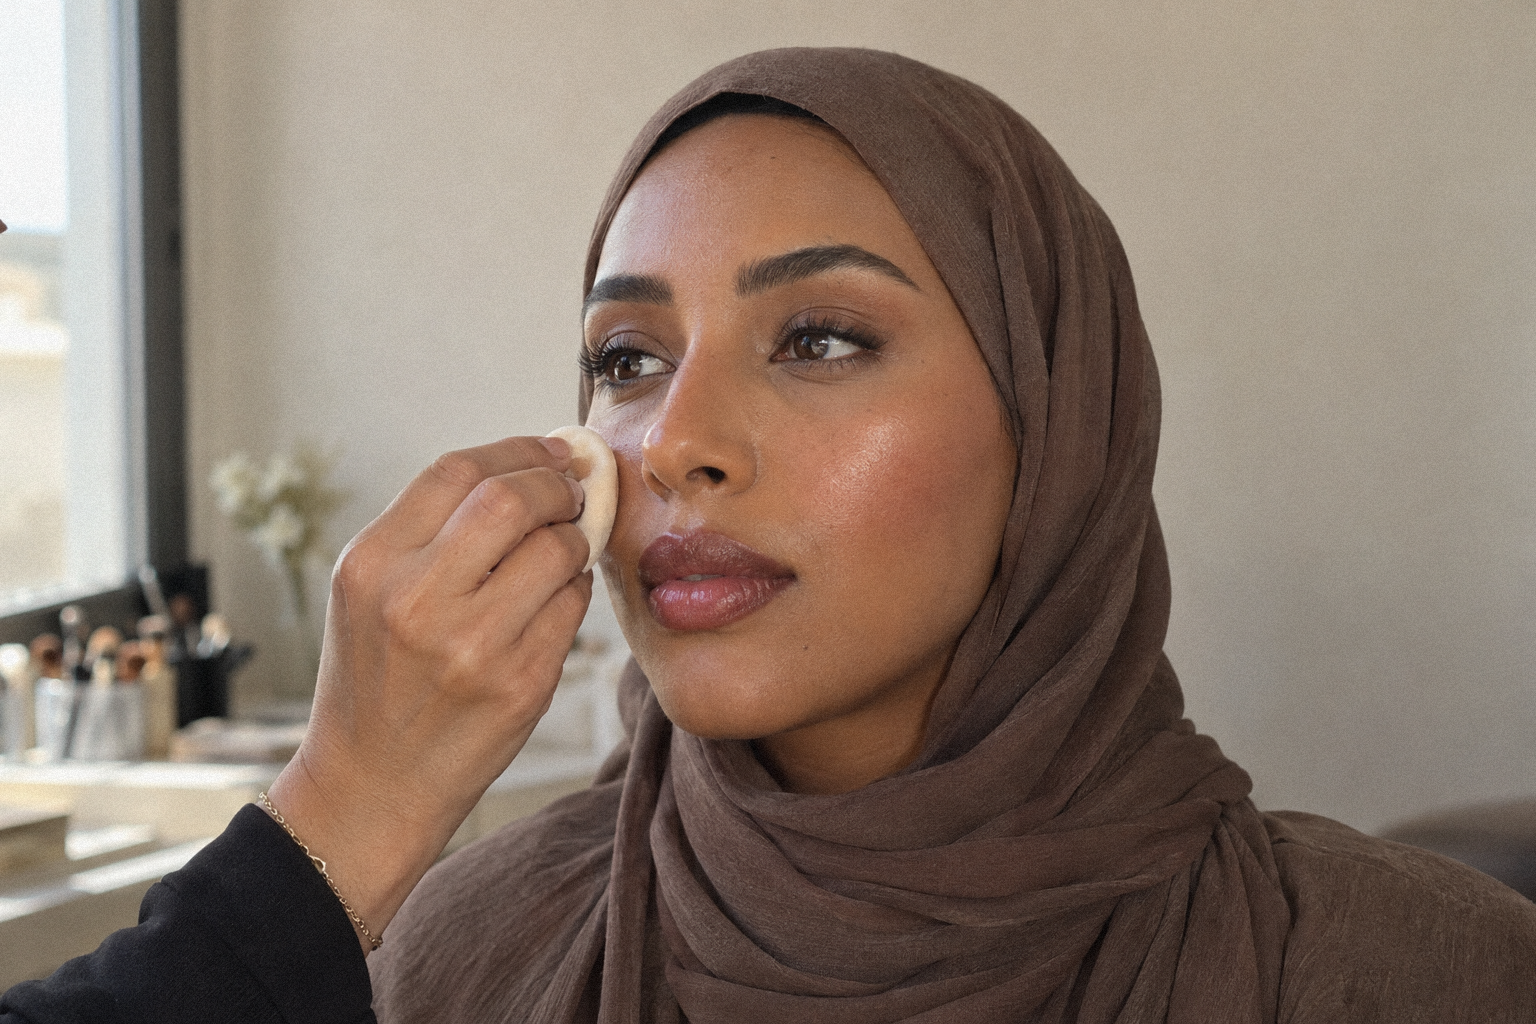
The makeup trends for fall 2026 combine velvety, skin-like coverage with berry lips, softened smoky eyes and deliberately selective definition. The complexion direction is less about erasing every shadow and more about choosing where coverage belongs. This guide makes the base your practical starting point, with optional colour pairings rather than a compulsory full-face look.
In short:
- Keep foundation light; add coverage only where you want it.
- Concentrate setting powder on the T-zone, keeping the sides of the face less powdered.
- Neutralise under-eye discolouration before adding any subtle brightening.
- Choose one statement feature, then adjust everything around it.
What are the biggest makeup trends for fall 2026?
The biggest makeup trends for fall 2026 include velvet skin, berry-stained or burgundy lips, soft smoky eyes, graphic eyeliner and muted blush. Lash options range from bare to sculptural, with ombré mascara between them. The shared direction is selective emphasis: feature-led makeup rather than uniformly heavy coverage or definition.
Choose a direction, not every trend
Fresh skin and velvet skin need not be opposites. For this demonstration, interpret velvet as a softly set centre with reflection left on the outer face—not an entirely matte surface.
Likewise, treat bold and minimal eyes as alternatives. Start with one of these editorial combinations:
- Lip-led: wine-stained lips, restrained concealer and bare lashes.
- Eye-led: smudged eyeliner, softly muted cheeks and a quiet lip.
- Skin-led: targeted coverage, a sheer blush and minimal lash definition.
Is natural-looking skin still in style for fall 2026?
Yes. The velvet-skin direction works with lighter complexion layers and less aggressively brightened under-eyes. The aim is a considered finish, not a face stripped of its natural variation.
Build a small, precise complexion kit
For this base-only demonstration, assemble a light-coverage foundation with a satin or natural finish, a concentrated spot concealer, fluid under-eye products for correction and optional brightening, and a finely milled setting powder. Add a small synthetic complexion brush, a detail brush, a clean damp sponge and a small powder puff. Keep a face mist available to bring some glow back after setting.
Keep optional highlighter separate from foundation. That gives you a deliberate choice about where to introduce reflection.
How to create velvet skin step by step
- Prepare by area. Apply your usual moisturiser, concentrating extra emollience on dry patches rather than automatically coating the whole face heavily. Allow it to settle; start foundation when the surface no longer feels slippery.
- Map coverage before applying it. Examine the face in daylight. Identify the areas you want to even out, and leave already-even skin out of the coverage plan.
- Apply one thin foundation layer. Dispense a little onto a palette. Pick it up with the small complexion brush, press onto uneven areas and feather the remainder outwards. Stop and reassess before taking more.
- Spot-conceal rather than adding another full layer. Place concentrated concealer directly onto individual marks with the detail brush. Soften the perimeter while leaving coverage over the centre.
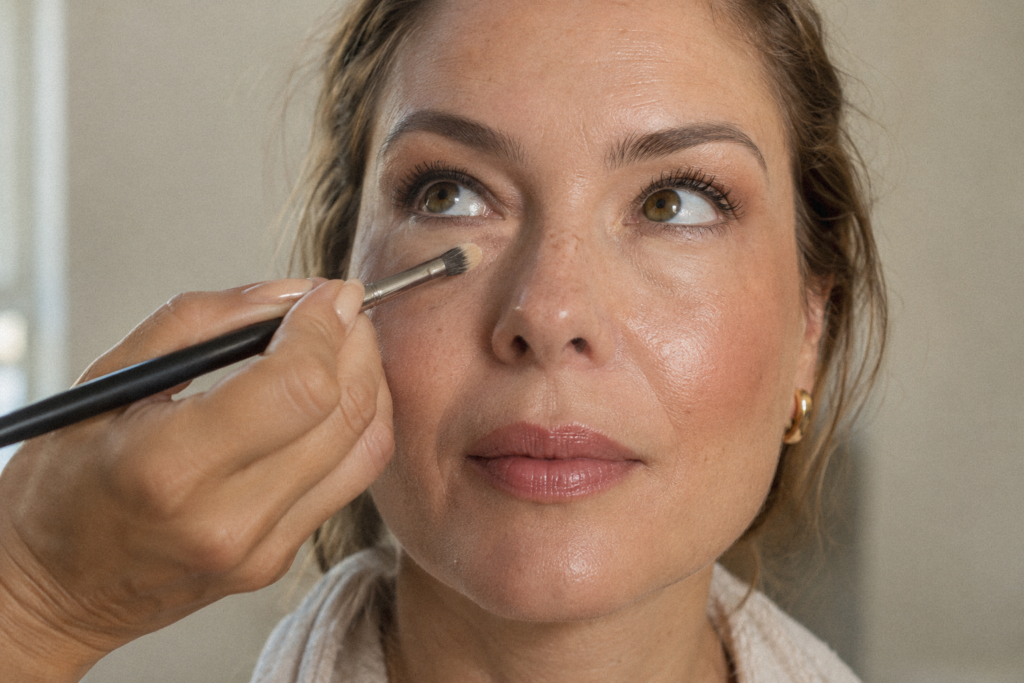
- Correct under-eye colour before brightening. Begin locally, using a small amount of a fluid product in a shade chosen to neutralise the discolouration on that skin tone. Blend the edges and assess. If you also want illumination, follow with a thin layer in a subtly lighter shade only where needed. Treat correction and brightening as separate decisions, not a reason to cover the entire under-eye.
- Add cream cheek colour, if wanted. Tap it on gently before powder. Use the clean side of your complexion brush to soften its boundary without spreading colour across the entire cheek.
- Set the centre, preserve the sides. Work a little powder into a puff, tap away excess and press through the T-zone. Leave the sides of the face less powdered; if they need setting, use the minimum amount of translucent powder.
- Restore glow, then assess reflection. Use a face mist after setting to bring some glow back. Turn the face towards the window before deciding whether highlighter is needed. If the upper cheek already catches enough light, stop. Otherwise, tap a trace of fine satin highlighter onto a small section of the cheekbone.
For me, the secret is to set the central T-zone and keep the sides of the face, where the light catches, less powdered. If I do set those areas, I use the minimum amount of translucent powder, then a mist to bring the glow back.
Adapt the finish to the skin in your chair
Use this table as a trial plan, then adjust after inspecting the actual result. Do not assign the same powder map to every client.
| Skin or finish priority | Suggested starting point | What to check |
|---|---|---|
| Dry or visibly flaky areas | Use a flexible satin base; initially leave these areas unpowdered. | Look closely before adding another layer over visible flakes. |
| Oily centre, comfortable cheeks | Press powder through the T-zone; leave the outer cheek softly reflective. | Reassess shine after completing the other features. |
| More widespread oiliness | Start setting through the centre. If the sides also need powder, use the minimum amount. | Distinguish unwanted shine from intentional cheekbone reflection. |
| Fine lines or mobile under-eyes | Use thin, fluid layers for correction and optional brightening; smooth any collection before setting. | Ask the client to smile, then inspect again. |
Adjust undertone, not just shade depth
On fair skin, compare neutral, pink and yellow-based matches rather than automatically choosing the palest. On medium and olive skin, check that foundation has not introduced an unwanted pink or orange cast.
On tan and dark skin, compare the centre of the face, jaw and visible chest before choosing your match. Test powder over the finished base rather than assuming that a product labelled translucent will meet your needs.
For under-eyes, assess the unwanted colour before choosing how light you want the finished area to look. Trial a trace of peach, apricot or orange where appropriate to the discolouration and skin depth. Treat these as starting options, not rules assigned by ethnicity. The corrective layer should be sufficient to neutralise the unwanted tone; a lighter concealer is not a substitute for that step.
If illumination is wanted after correction, add a subtly lighter shade in a separate, thin layer. Assess the colour after the first layer and the brightness after the second, rather than trying to solve both with an increasingly pale concealer.
When I am creating natural-looking makeup, I first correct the colour with a shade chosen strategically for that skin tone. If I want more illumination, I then use a subtly lighter shade. These are two separate adjustments: colour first, then depth. I prefer fluid products for these layers so that the under-eye does not become heavy or emphasise lines.
How can you wear berry or burgundy lipstick without a heavy makeup look?
Pair the colour with restrained complexion work and choose a softened edge. Berry-stained lips, blurred matte lips and blended ’90s ombré lips offer different ways to interpret this season’s direction.
Keep the depth, soften the application
For a stain effect, press berry, plum or wine lipstick onto the centre with a lip brush, then spread it thinly towards the border. For ’90s ombré lips, diffuse deeper lip liner inwards before adding a lighter centre.
On naturally pigmented or two-toned lips, assess the colour on both lips before adjusting. Try a richer burgundy or blackberry rather than concealing the natural lip colour by default. Keep the surrounding base thin instead of drawing a heavy concealer border.
What eye makeup trends are popular for fall 2026?
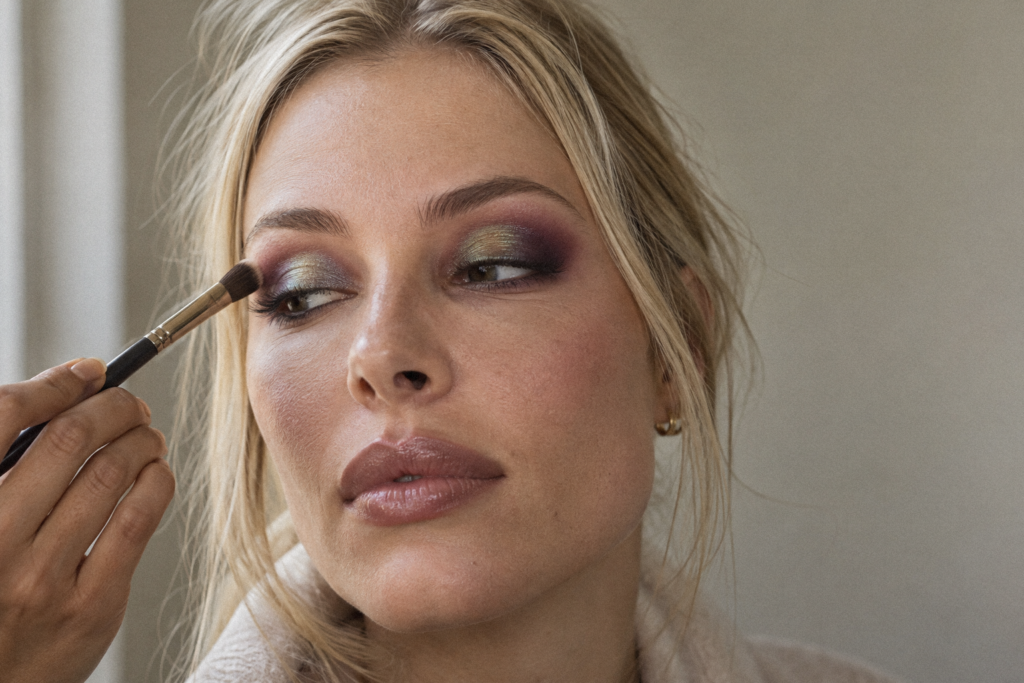
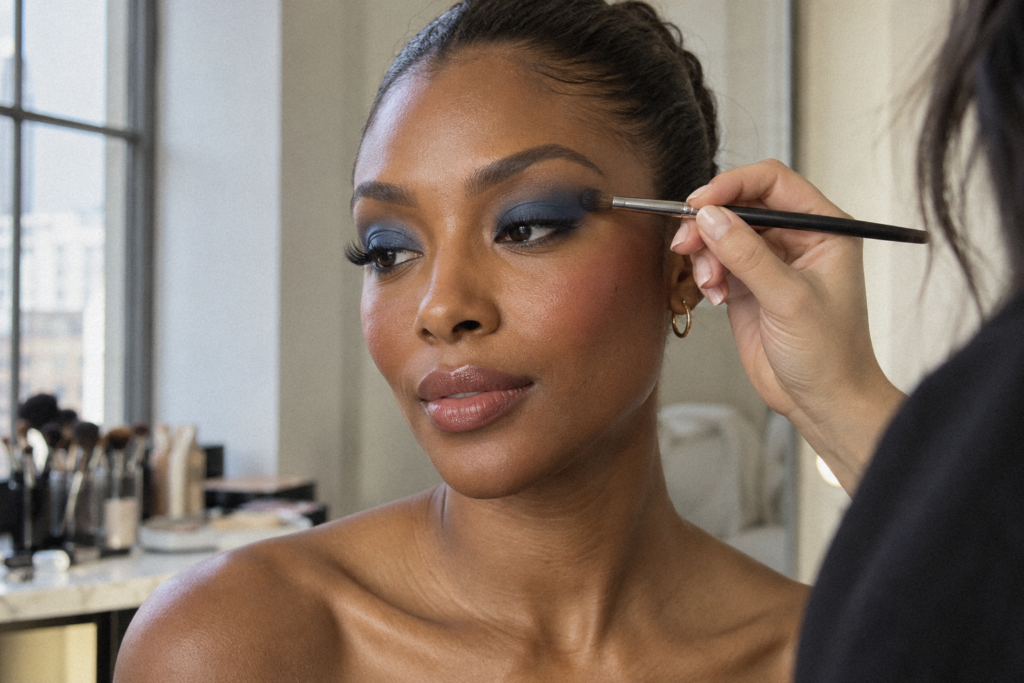
Soft smoky eyes, cool-toned eyeshadow, earthy neutrals and concentrated inky accents coexist with colourful eyeliner. Lash directions also diverge: sculptural lashes, ombré mascara and bare “ghost lashes” are options, not a single prescribed finish.
How do you create a soft smoky eye for fall 2026?
Try an espresso, charcoal or plum pencil close to the upper lashes. Smudge its edge with a short brush before it sets, then use a small amount of matching shadow to soften the boundary. Keep the deepest colour near the lash roots.
For hooded eyes, map the visible edge with the eye open. On monolids, build a narrow gradient upwards from the lashes; on deep-set eyes, start with less darkness through the socket.
Choose a lash or liner accent
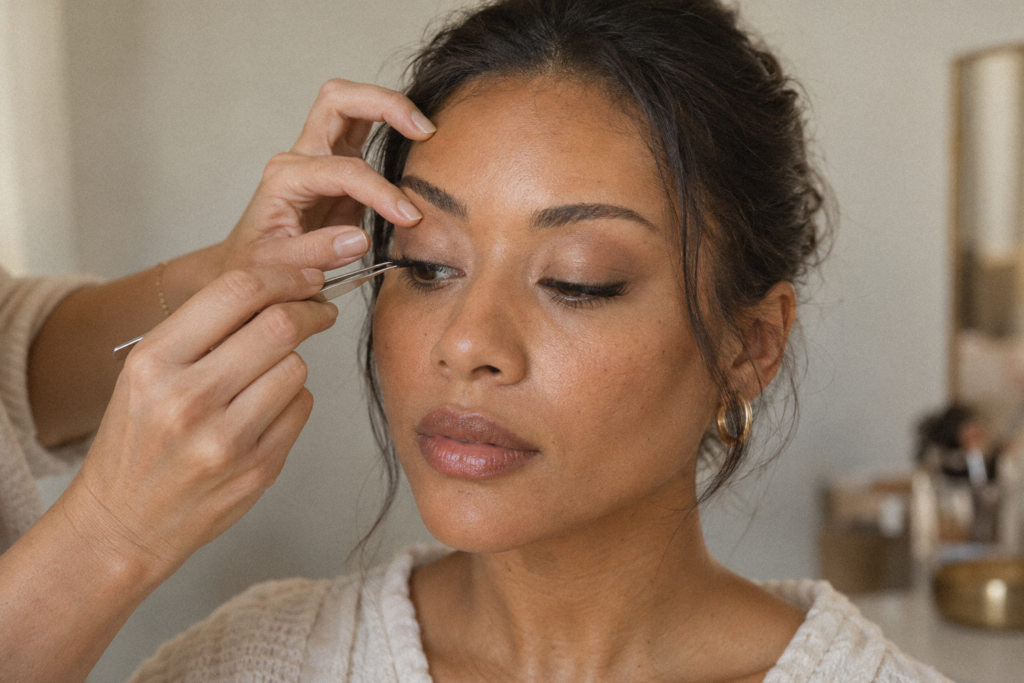
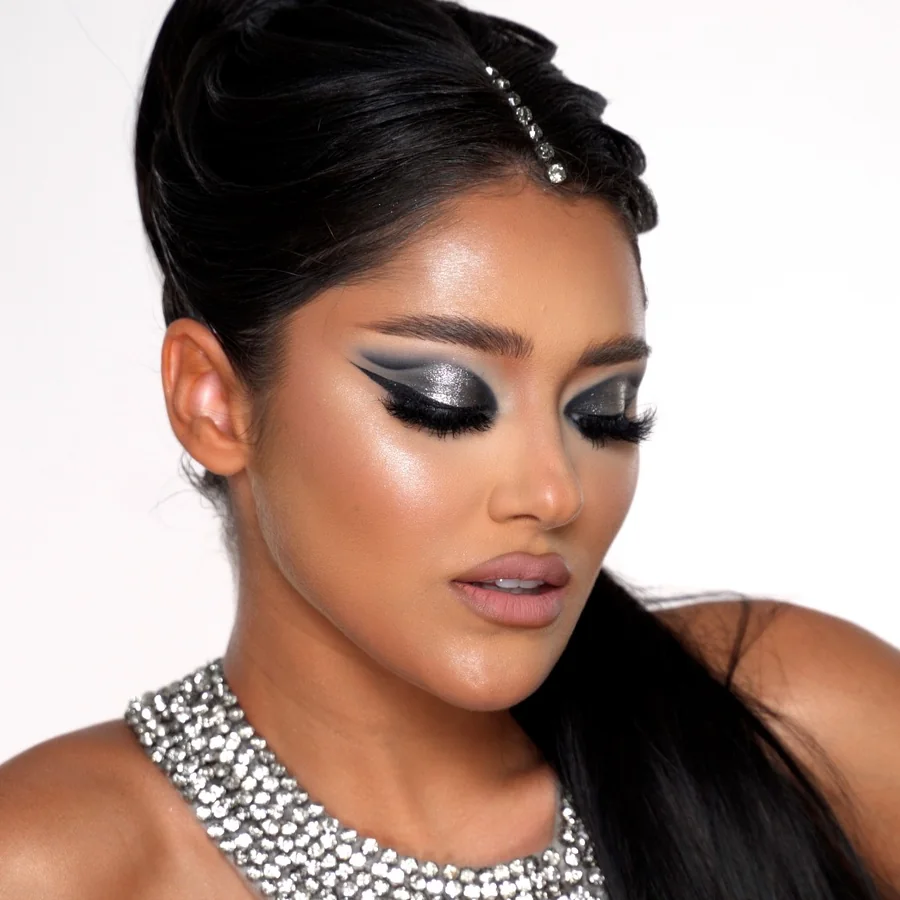
For graphic definition, try a short outer stroke instead of a full wing. For ombré mascara, use brown through the lashes and black at the outer tips; for ghost lashes, simply omit mascara. If you choose sculptural falsies, consult our guide to false lashes for different eye shapes before deciding on placement.
What blush colours and placements are trending for fall 2026?
Muted blush and barely-there “anti-blush” sit alongside purple blush and softly draped colour. Monochromatic makeup offers another option: repeat a colour family rather than making every feature equally strong.
Translate weathered cheeks into wearable placement
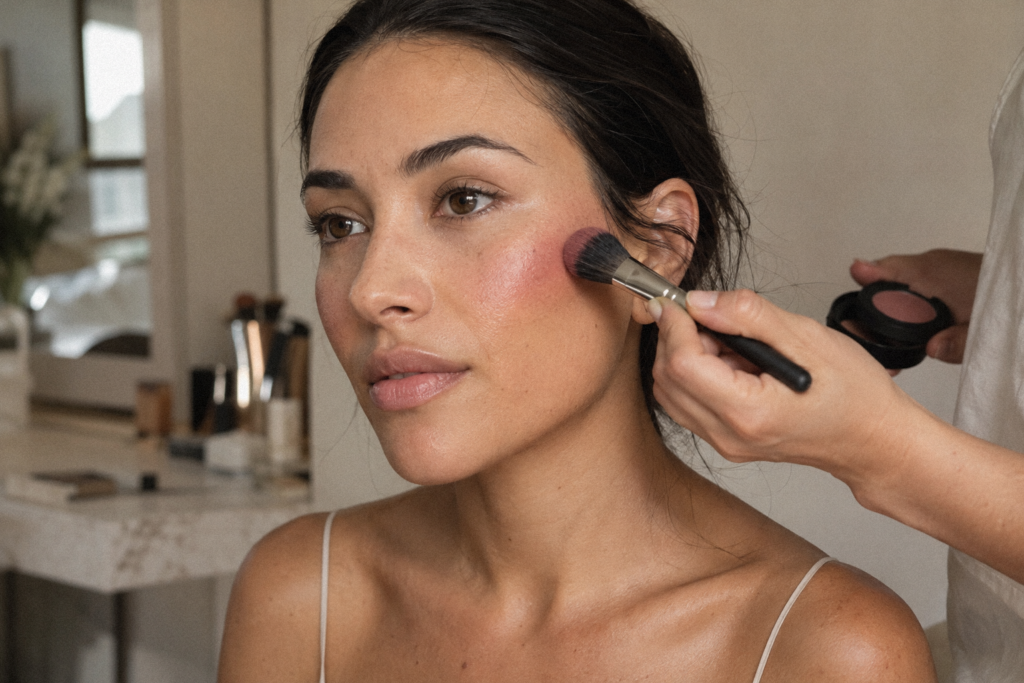
Try dusty rose on fair skin, muted rose-brown on medium skin, and sheer brick, mulberry or plum on tan and dark skin. Judge the swatch against the individual undertone; do not force a pale mauve where you want richer colour.
For a weathered-cheek interpretation, tap a restrained wash across the upper apple. For draping, move it along the cheekbone towards the temple. Start with one placement, then soften its edges with your foundation brush.
How do you keep velvet skin looking good in photographs and through an event?
Build a lighting check and a touch-up plan into your application. Treat the fall/winter 2026 makeup trends as visual references, not promises of wear time.
Check before adding more
- If the finish looks flat: stop powdering. Use a face mist to bring some glow back, then reassess before adding a tiny satin highlight to the upper cheek.
- If the under-eye looks heavy: lift excess gently with a clean sponge before considering more coverage. Reassess whether you need colour correction or subtle brightening, and keep any additional layer fluid and thin.
- If shine returns: blot first, inspect the base, then powder only where needed, keeping the sides of the face as lightly set as possible.
- For photography: take an unfiltered daylight image and a test in the intended event lighting before signing off the finish.
For a fuller appointment and touch-up framework, use our long-lasting wedding makeup plan.
FAQ
Do you need a product labelled velvet foundation?
No particular label is required for this demonstration. Start with your familiar light-coverage base and adjust coverage and powder placement before buying another formula.
Can you skip foundation entirely?
Try concealer only where you want coverage, then assess the face from conversational distance. Add foundation only if you still want more overall evening.
Should you mix highlighter into foundation?
For this technique, keep them separate. Concentrate setting powder on the T-zone, use as little as possible on the sides and bring glow back with a face mist. Add highlighter only after assessing the base so that you control exactly which areas reflect light.
What should you practise first as a beginner?
Practise coverage placement before adding trend colours. Photograph one thin layer, then photograph the same base after spot concealing and targeted powder; compare where each addition was genuinely useful. For under-eyes, practise assessing colour correction separately from brightening, keeping both layers thin and fluid.
If you are learning how to make your makeup look good consistently, start by asking where you can use less. Practise this base on different faces, record your powder map and explore LockedBeauty™ training through Raphael Oliver Academy when you want to develop your complexion workflow further.