

How to Create a Makeup Artist Portfolio Without Client Photos
Do not wait for clients to define your work. Build your brand, style and signature through self-demonstrations, willing friends and family, and purposeful creative collaborations.

By Raphael Oliver
· 10-minute read
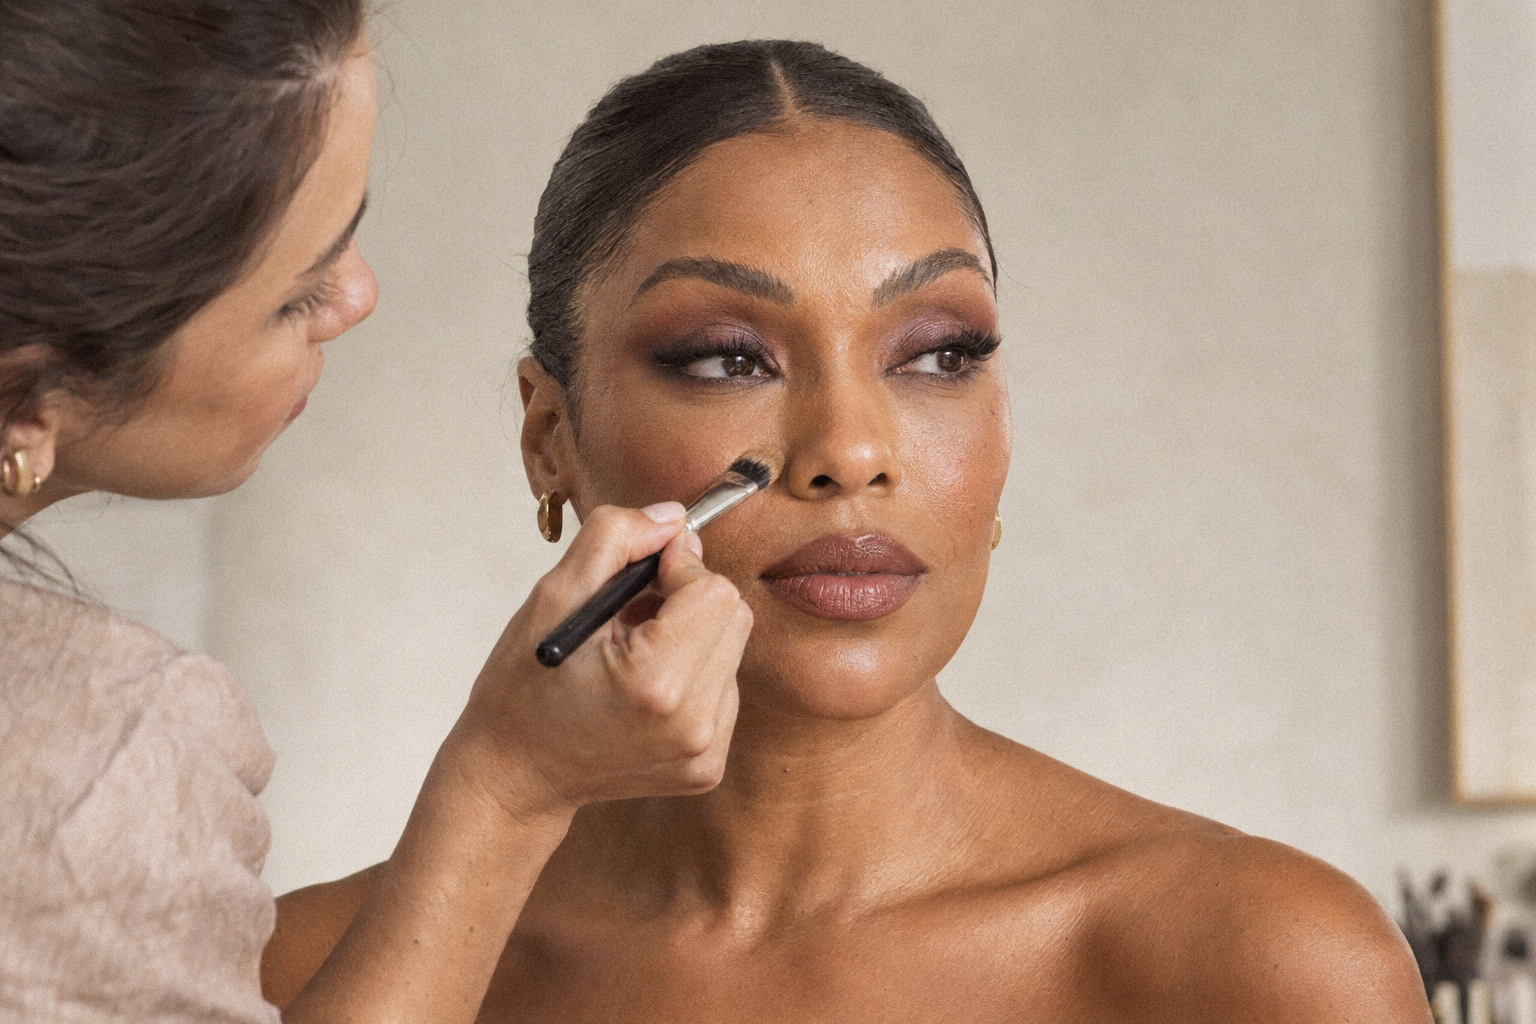
Learning how to create a makeup artist portfolio starts before your first client: define your brand, develop your style and begin building a recognisable makeup signature. Create work for the jobs you want—not simply a collection of photographs from paying appointments.
My advice is not to wait for clients. Start creating demand by making work and connecting with the creative world you want to belong to. Do your own makeup, work with willing friends and family, and collaborate with photographers, stylists and wedding planners to build material you can use to promote your work.
In short:
- Define your brand, style and signature before planning your looks.
- Choose the audience and creative world you want your work to reach.
- Use self-demonstrations, willing adult friends and family, and purposeful collaborations to create your first material.
- Agree on image delivery, publication permission and credits before collaborating—even when working without a fee.
- Show accurate colour and visible skin texture, and keep finished makeup photographs separate from process content.
How do you create a makeup artist portfolio?
Define your brand and the work you want to be hired for, then create and curate looks that express your style. Photograph them clearly, using self-demonstrations or collaborations if you have no clients. Confirm publication permissions, add concise credits and contact details, and update the selection as your skills and signature develop.
Define your signature and choose a specialty
Before choosing images, consider what you want people to recognise in your work: your approach to complexion, your use of colour or the overall finish you create. A signature gives the selection a point of view; it does not mean applying the same makeup to every face.
Write a one-sentence brief: “This portfolio should help me book natural bridal makeup,” or “This selection should introduce me to editorial teams.” Use that sentence to reject attractive photographs that serve a different purpose.
These makeup artist portfolio examples are suggested shoot briefs, not compulsory categories:
| Target work | What to photograph | What the selection should demonstrate |
|---|---|---|
| Bridal makeup | Natural makeup, soft glam, mature skin | Refined complexion work and flattering adaptations |
| Beauty and clean beauty | Sheer skin, precise lips, close-up eye details | Texture control and accurate placement |
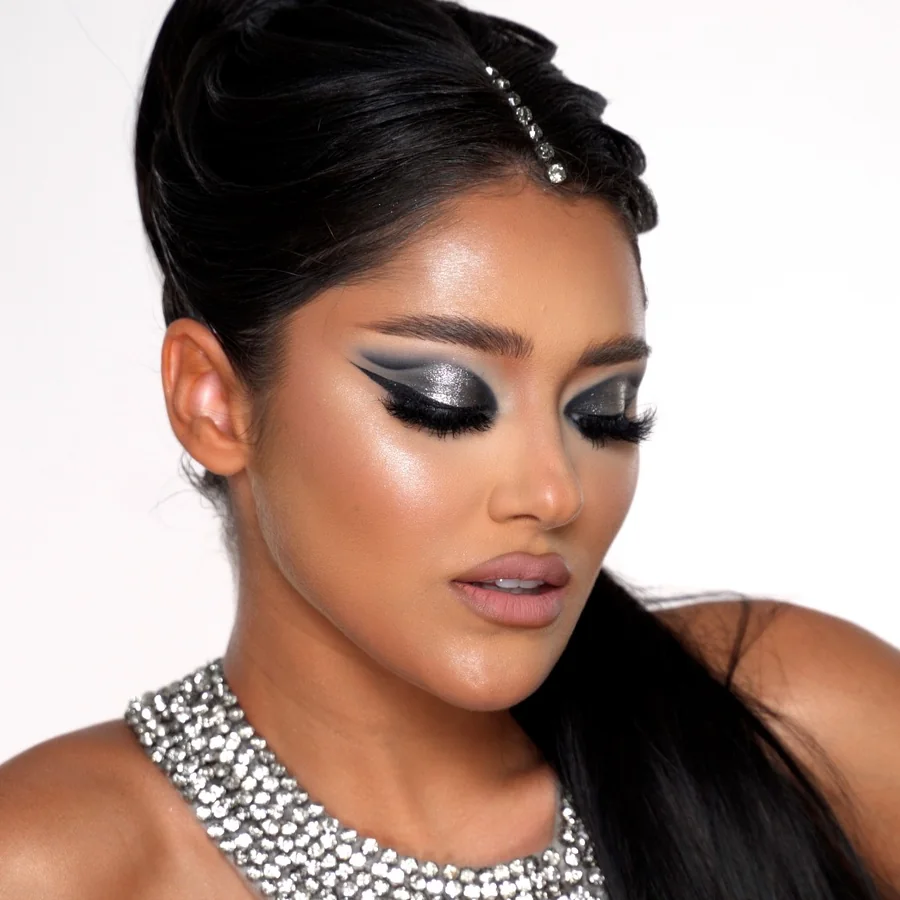
| Editorial and fashion makeup | A coherent colour story with considered styling | Creative direction and response to a brief |
| Special effects (SFX) makeup | Finished character, application details, continuity views | Construction, edges and repeatability |
Create separate selections when approaching substantially different opportunities. Send bridal clients wearable beauty; send agencies your strongest relevant beauty or fashion work; give production teams clearly labelled character and continuity material.
How do I build a makeup artist portfolio with no clients?
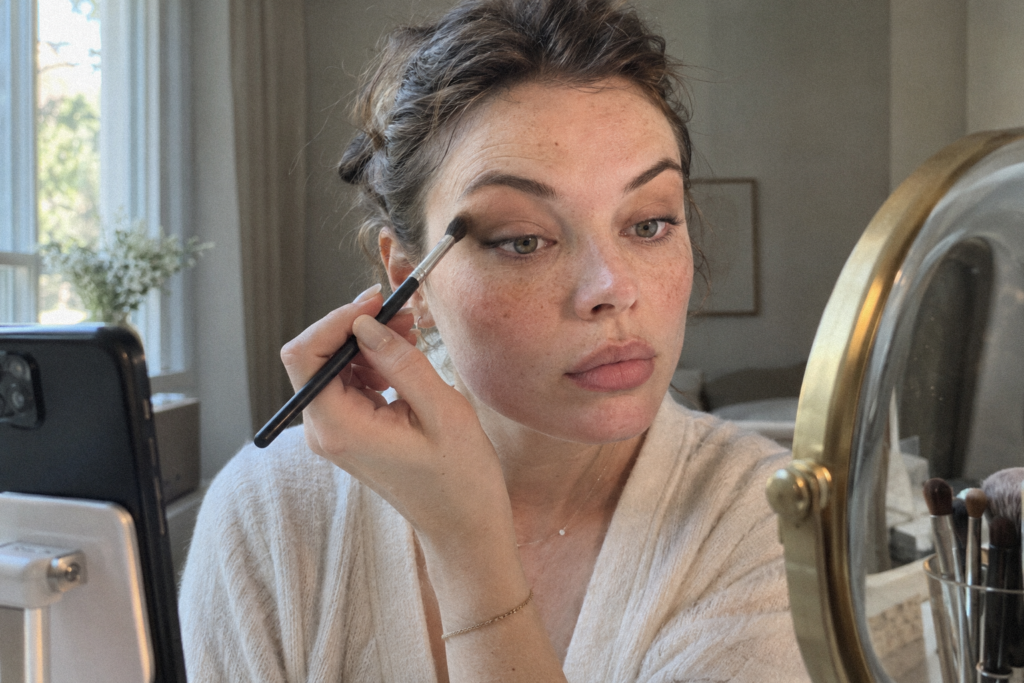
Start on yourself, then invite willing adult friends or family members and organise small shoots with creative collaborators. Present practice as practice: you do not need to imply that a model demonstration was a paid booking.
I recommend making those connections before you have clients. If you want to work in fashion, collaborate with photographers and stylists on editorials. If you want to work in bridal makeup, connect with wedding planners and teams creating wedding imagery. Associate yourself with the world you want to work in, and create material that belongs there.
A manageable first-month plan
- Week one: define your direction and rehearse two looks. Write down your target work and the style you want to develop. Practise on yourself, photographing a clean complexion and a more defined variation. Review blending, lash placement and lip edges before inviting anyone.
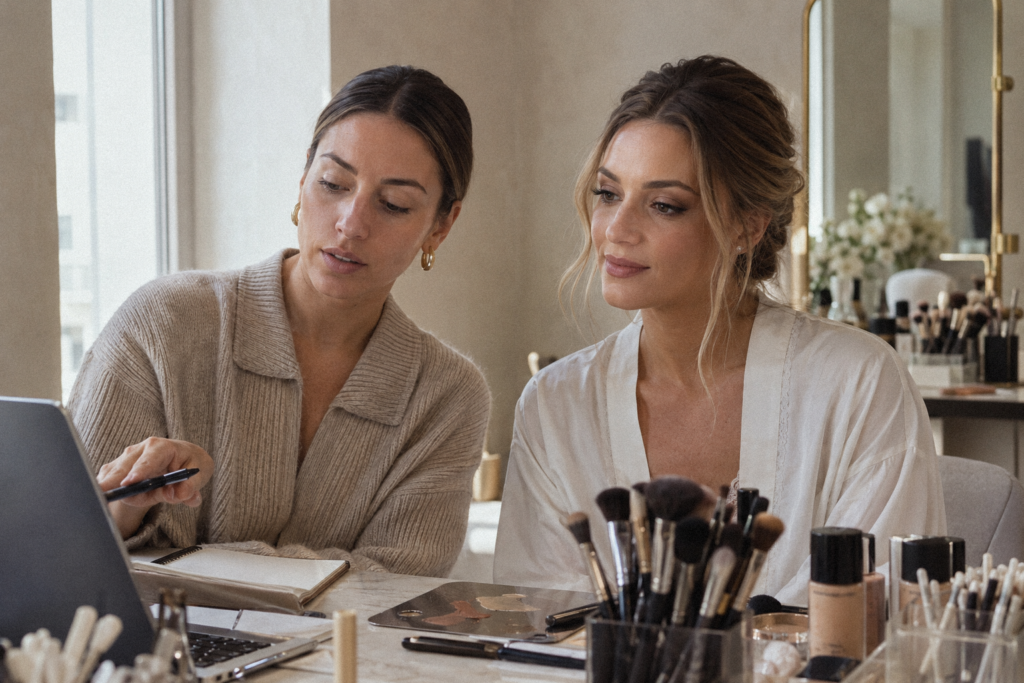
- Week two: find collaborators. Approach willing adult friends and family, photography students, stylists, wedding planners or local creative groups. Look for a shared direction, not simply large followings.
- Week three: shoot two models. Choose different features and skin tones. Try one shared brief on both faces, adapting the technique rather than copying the placement.
- Week four: select and publish. Request agreed files, check permissions and build a concise gallery that reflects your intended style. Keep weaker practice photographs privately for comparison.
Propose a specific collaboration
Working without a fee can be a purposeful starting point. I suggest using early unpaid collaborations and editorials to build promotional material, rather than waiting for paid appointments to supply your portfolio. Choose projects that help you develop your signature and connect with the right creative teams.
For a TFP (Time for Print) arrangement, propose an exchange of creative work for agreed photographs, with any expenses stated separately. Make the benefit and workload clear:
“I’m building a natural-beauty portfolio and would like to collaborate on two looks using window light. Could we discuss a three-hour session, four finished images, delivery within two weeks and agreed portfolio use for everyone? I can share the brief and reference board first.”
Confirm the location, team, schedule, travel costs, cancellation arrangements, image selection, retouching limits and delivery date in writing. Working without a fee should not leave the scope or image usage unclear. Ask for high-resolution masters and web-ready copies; do not assume raw files are included.
How can I get professional-looking portfolio photos on a budget?
For your first photoshoot for a makeup artist portfolio, prioritise controlled light, careful preparation and repeatable framing over elaborate equipment. Use a phone or camera you already have before paying for additional gear.
Prepare makeup for close inspection
Allow roughly 60–75 minutes for your first complete look, then ten minutes to inspect test photographs. Photograph the clean look before adding deeper shadow, stronger liner or a saturated lip.
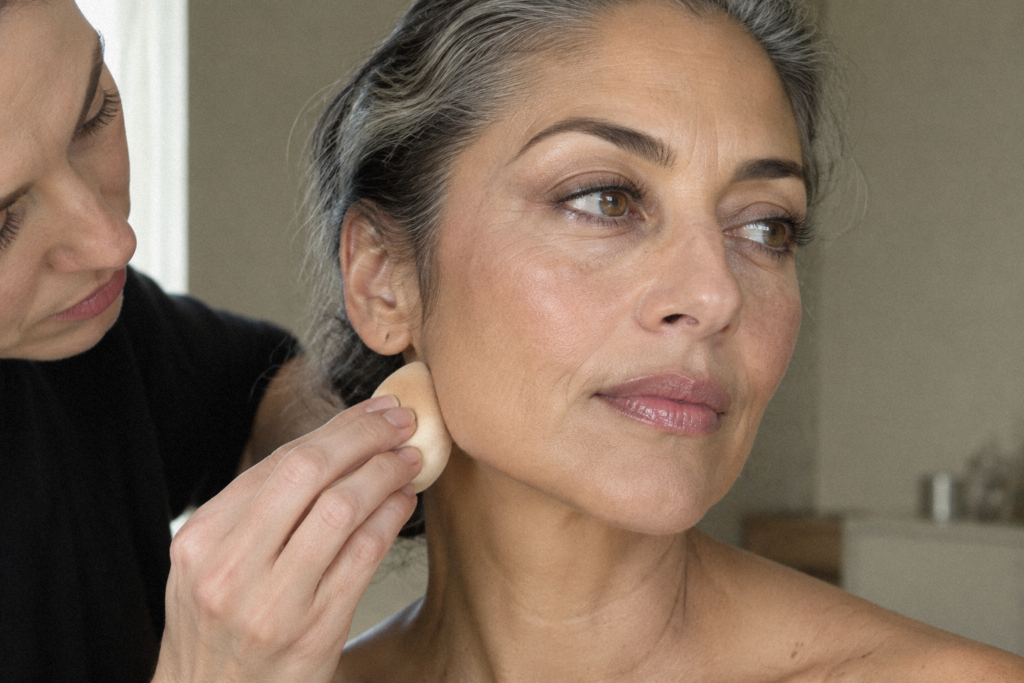
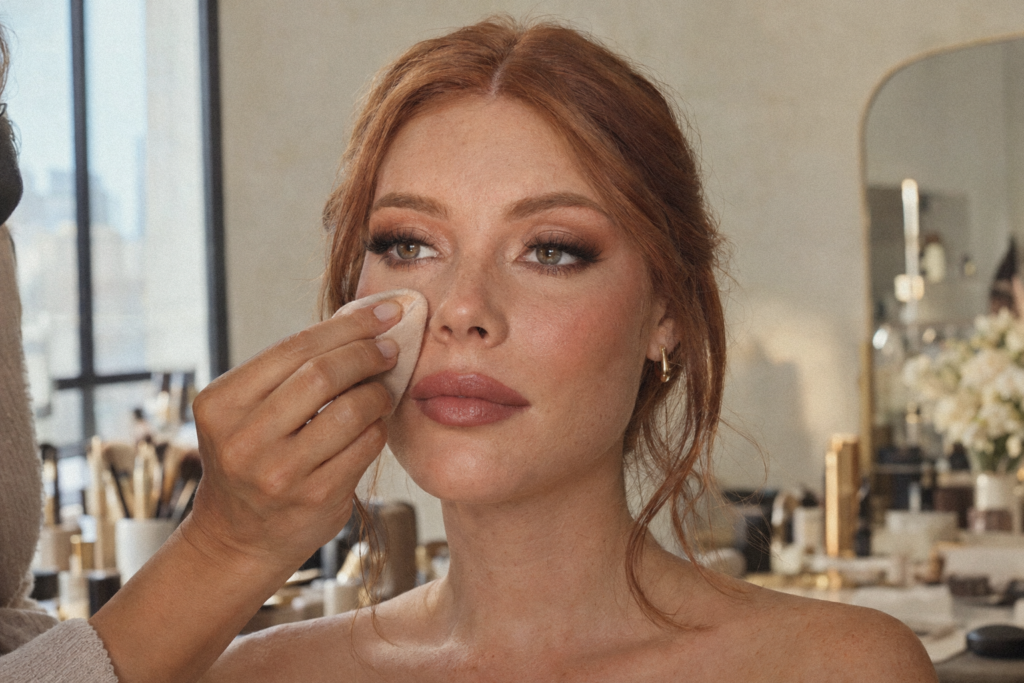
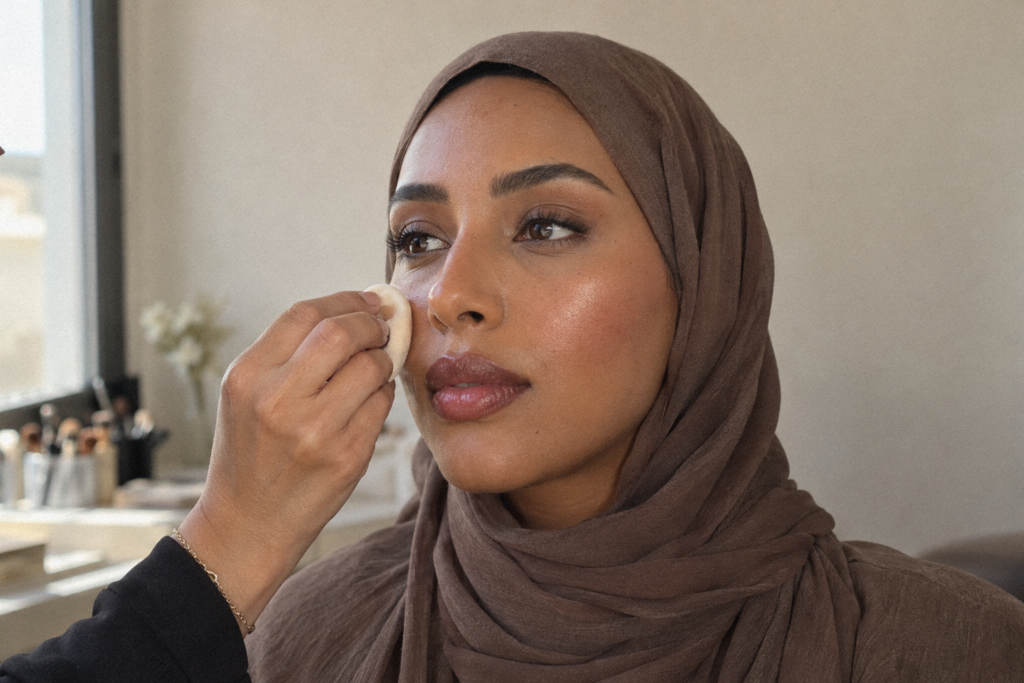
Try thin complexion layers with a small synthetic brush, then press away excess with a clean sponge. On dry areas, inspect for catching pigment before adding powder; on oily areas, blot first and powder selectively rather than repeatedly coating the whole face.
LockedBeauty™ for bridesBridal Makeup MasterclassLearn the LockedBeauty™ bridal method for makeup that withstands tears, heat and a long celebration.Learn more →Check foundation against the face, jaw and visible neck on fair, medium and dark skin. If the photograph looks grey or orange, check the lighting and camera colour settings before changing the makeup.
For hooded eyes, map the visible shape with the eyes open; for monolids, check how much colour remains visible above the lash line. Adapt cheek placement to each face rather than repeating one contour diagram. Rehearse lash style, fit and placement for different eye shapes before shoot day.
Use this photo-quality checklist
- Light: try indirect window light and switch off competing overhead lights.
- Colour: photograph a neutral grey reference and avoid colour-changing filters.
- Focus: clean the lens, stabilise the camera and inspect the eyes and lip edge at full size.
- Angles: capture a straight-on portrait, three-quarter view and useful detail; keep camera height consistent.
- Texture: retain pores, fine lines and genuine product finish. Reject edits that redraw liner, reshape lips or manufacture blending.
- Files: retain the originals and export smaller website copies without obvious softness or compression.
For bridal demonstrations, use the preparation and touch-up planning in our long-lasting wedding makeup guide. A finished photograph alone should not be presented as proof of all-day wear.
What permission do I need to publish makeup photographs?
Separate the photographed person’s permission from the rights to use the photograph. For promotional use, you may need permission from both the person shown and the copyright holder; one does not automatically replace the other.
Agree on photographic usage
In the United States, the photographer generally owns the initial copyright, subject to exceptions such as qualifying work made for hire. Paying for makeup, appearing in the image or receiving a file does not by itself transfer that copyright; see the U.S. Copyright Office’s photography guidance.
Request written permission identifying the images, intended platforms, purpose and duration. The Library of Congress’s permission guidance recommends clarifying those details and following the agreed terms.
Ask the person for specific publication permission
Use a locally appropriate model release for planned collaborations, including those with friends and family. For clients, make any request optional and separate from the service; this wording is a conversation starter, not a legal release:
“Would you be comfortable with me publishing these two selected photographs on my portfolio website and business Instagram? You can approve either platform, both or neither. I would ask separately about paid advertising, before-and-after images or using your name.”
Record the approved images, platforms, naming preferences and any limits. If they decline, thank them and continue normally—do not bargain, repeatedly ask or offer a cropped version as a workaround. For withdrawal requests or disputed terms, pause new use and seek locally qualified advice.
Keep photographer credit separate from permission: attribution does not itself grant the right to reproduce or publicly display a protected photograph. Obtain the appropriate licence rather than relying on a tag.
What should a makeup artist include in a portfolio?
Include finished work that communicates your style, concise project context, accurate credits and a clear way to enquire. Treat process content as supporting material, not a substitute for showing the result.
Separate finished results from process content
A portrait demonstrates the complete makeup; a close-up demonstrates a specific detail. Hands mixing foundation, brush preparation and palette photographs can explain your process, but they cannot demonstrate your finished complexion work.
Do not assume an eye crop, tattooed hand or partially covered face is anonymous. If someone declines publication, create process content separately using your own hands, tools or a consenting model.
Write useful captions
Use a caption pattern such as: “Self-directed beauty test; satin complexion and softly diffused liner. Makeup: [name]. Photography: [name]. Hair: [name]. Model: [approved credit].” Credit styling and retouching where relevant, and state your contribution precisely if you assisted.
Add your location, services, travel availability and contact details. Include genuine testimonials only with permission; omit that section if you have none.
How many photos should a makeup artist portfolio have?
As an editorial starting point, aim for six to ten excellent images rather than stretching to twenty. This is a working recommendation, not an industry requirement; follow a recipient’s submission instructions first.
From the AcademyCareer Mentorship for Makeup ArtistsPrice your work, position your brand and fill your schedule — the business side of a makeup career.Learn more →Give every image a job
Open with your strongest relevant portrait. Add images that demonstrate a different technique, skin tone, face shape or finish—not five nearly identical angles of one model.
Keep cohesion through lighting, framing and editing rather than using only similar faces. Review after each substantial shoot and schedule a quarterly check for weaker work, expired permissions and outdated contact details.
Do I need a website, or is Instagram enough?
You can start with a carefully arranged social profile, but build a simple portfolio page when practical. Keep a downloadable selection or printed lookbook ready for opportunities that request one.
Make the next step obvious
Place your specialty, location and enquiry button near the opening image. Ask for the event date, location and service needed rather than presenting an unnecessarily long form.
Test every page on your phone, including image loading and contact links. Write descriptive alt text such as “Soft plum eye makeup and satin complexion on a model with dark skin”; do not repeat keywords in every image description.
FAQ
Can I include makeup from a training assessment?
Yes, if you have the necessary permissions and accurately describe your contribution. Label it as training work and acknowledge substantial tutor assistance rather than presenting it as an independently completed commission.
Should I include before-and-after photography?
Only when it serves the brief and the person has specifically approved both images. Keep lighting, angle, expression and editing comparable, and avoid language that frames the unmade-up face as a problem.
Can I use AI-generated faces in my portfolio?
Do not present generated faces or digitally invented makeup as evidence of practical application. If you use generated references for planning, label them and keep them separate from completed-work galleries.
What if a collaborator misses the delivery date?
Refer to the agreed deliverables and request a revised date in writing. Do not replace missing files with screenshots of their posts; for future shoots, agree on a preview milestone as well as final delivery.
Do not wait for a full appointment book to start building your brand. Define the style you want to be known for, write two shoot briefs and invite one suitable collaborator from the world you want to work in. Create the material that helps you introduce yourself to that audience, and publish only work you can explain, reproduce and confidently show with the agreed permissions.



The conversation
Join the conversation
A question, an experience or a different approach? Share it below.
No comments yet — be the first to share your thoughts.